


We had taken off early from work on Friday, and as we jumped in the car for the three hour drive from Austin to Garner State Park, I could practically smell the sausages that would soon be cooking over our blazing campfire. Garner had long been on our list and I was so excited it was finally happening. We had a weekend of camping, hiking, swimming, and relaxing with friends ahead of us; I was really looking forward to getting away after a hectic week at work.
As we pulled into the entrance and found our way to the park headquarters, there seemed to be some sort of event going on. I knew the park offered nightly dances on their pavilion during parts of the year and I assumed this crowd was part of it. But no bother, because we would soon be at our campsite and away from the crowd.
We parked the car and after squeezing through the crowd and dodging hordes of running children, we made it to the door. The scene that greeted us was so far from what I was expecting that it took me a minute or two to digest. I could see four park employees through a glass window, barricaded behind a locked door. A large number 80 flashed in red above the door. The door buzzed and the lucky holder of number 80 was allowed through to speak to the rangers.
After looking around, I saw the red number dispenser by the door. I pulled number 51. Ok, I thought, about 30 people ahead of us. Not great, but that shouldn't take longer than 30 minutes right? My heart sank as the red number 80 turned to 81. It was going up, not down. There were 70 people ahead of us.
Number 51 was called two and a half hours later. We had arrived at the park around 7:30pm and did not get to our campsite until about 10:30pm. It wasn't exactly the relaxing night I had expected when we had set off from Austin earlier that day.
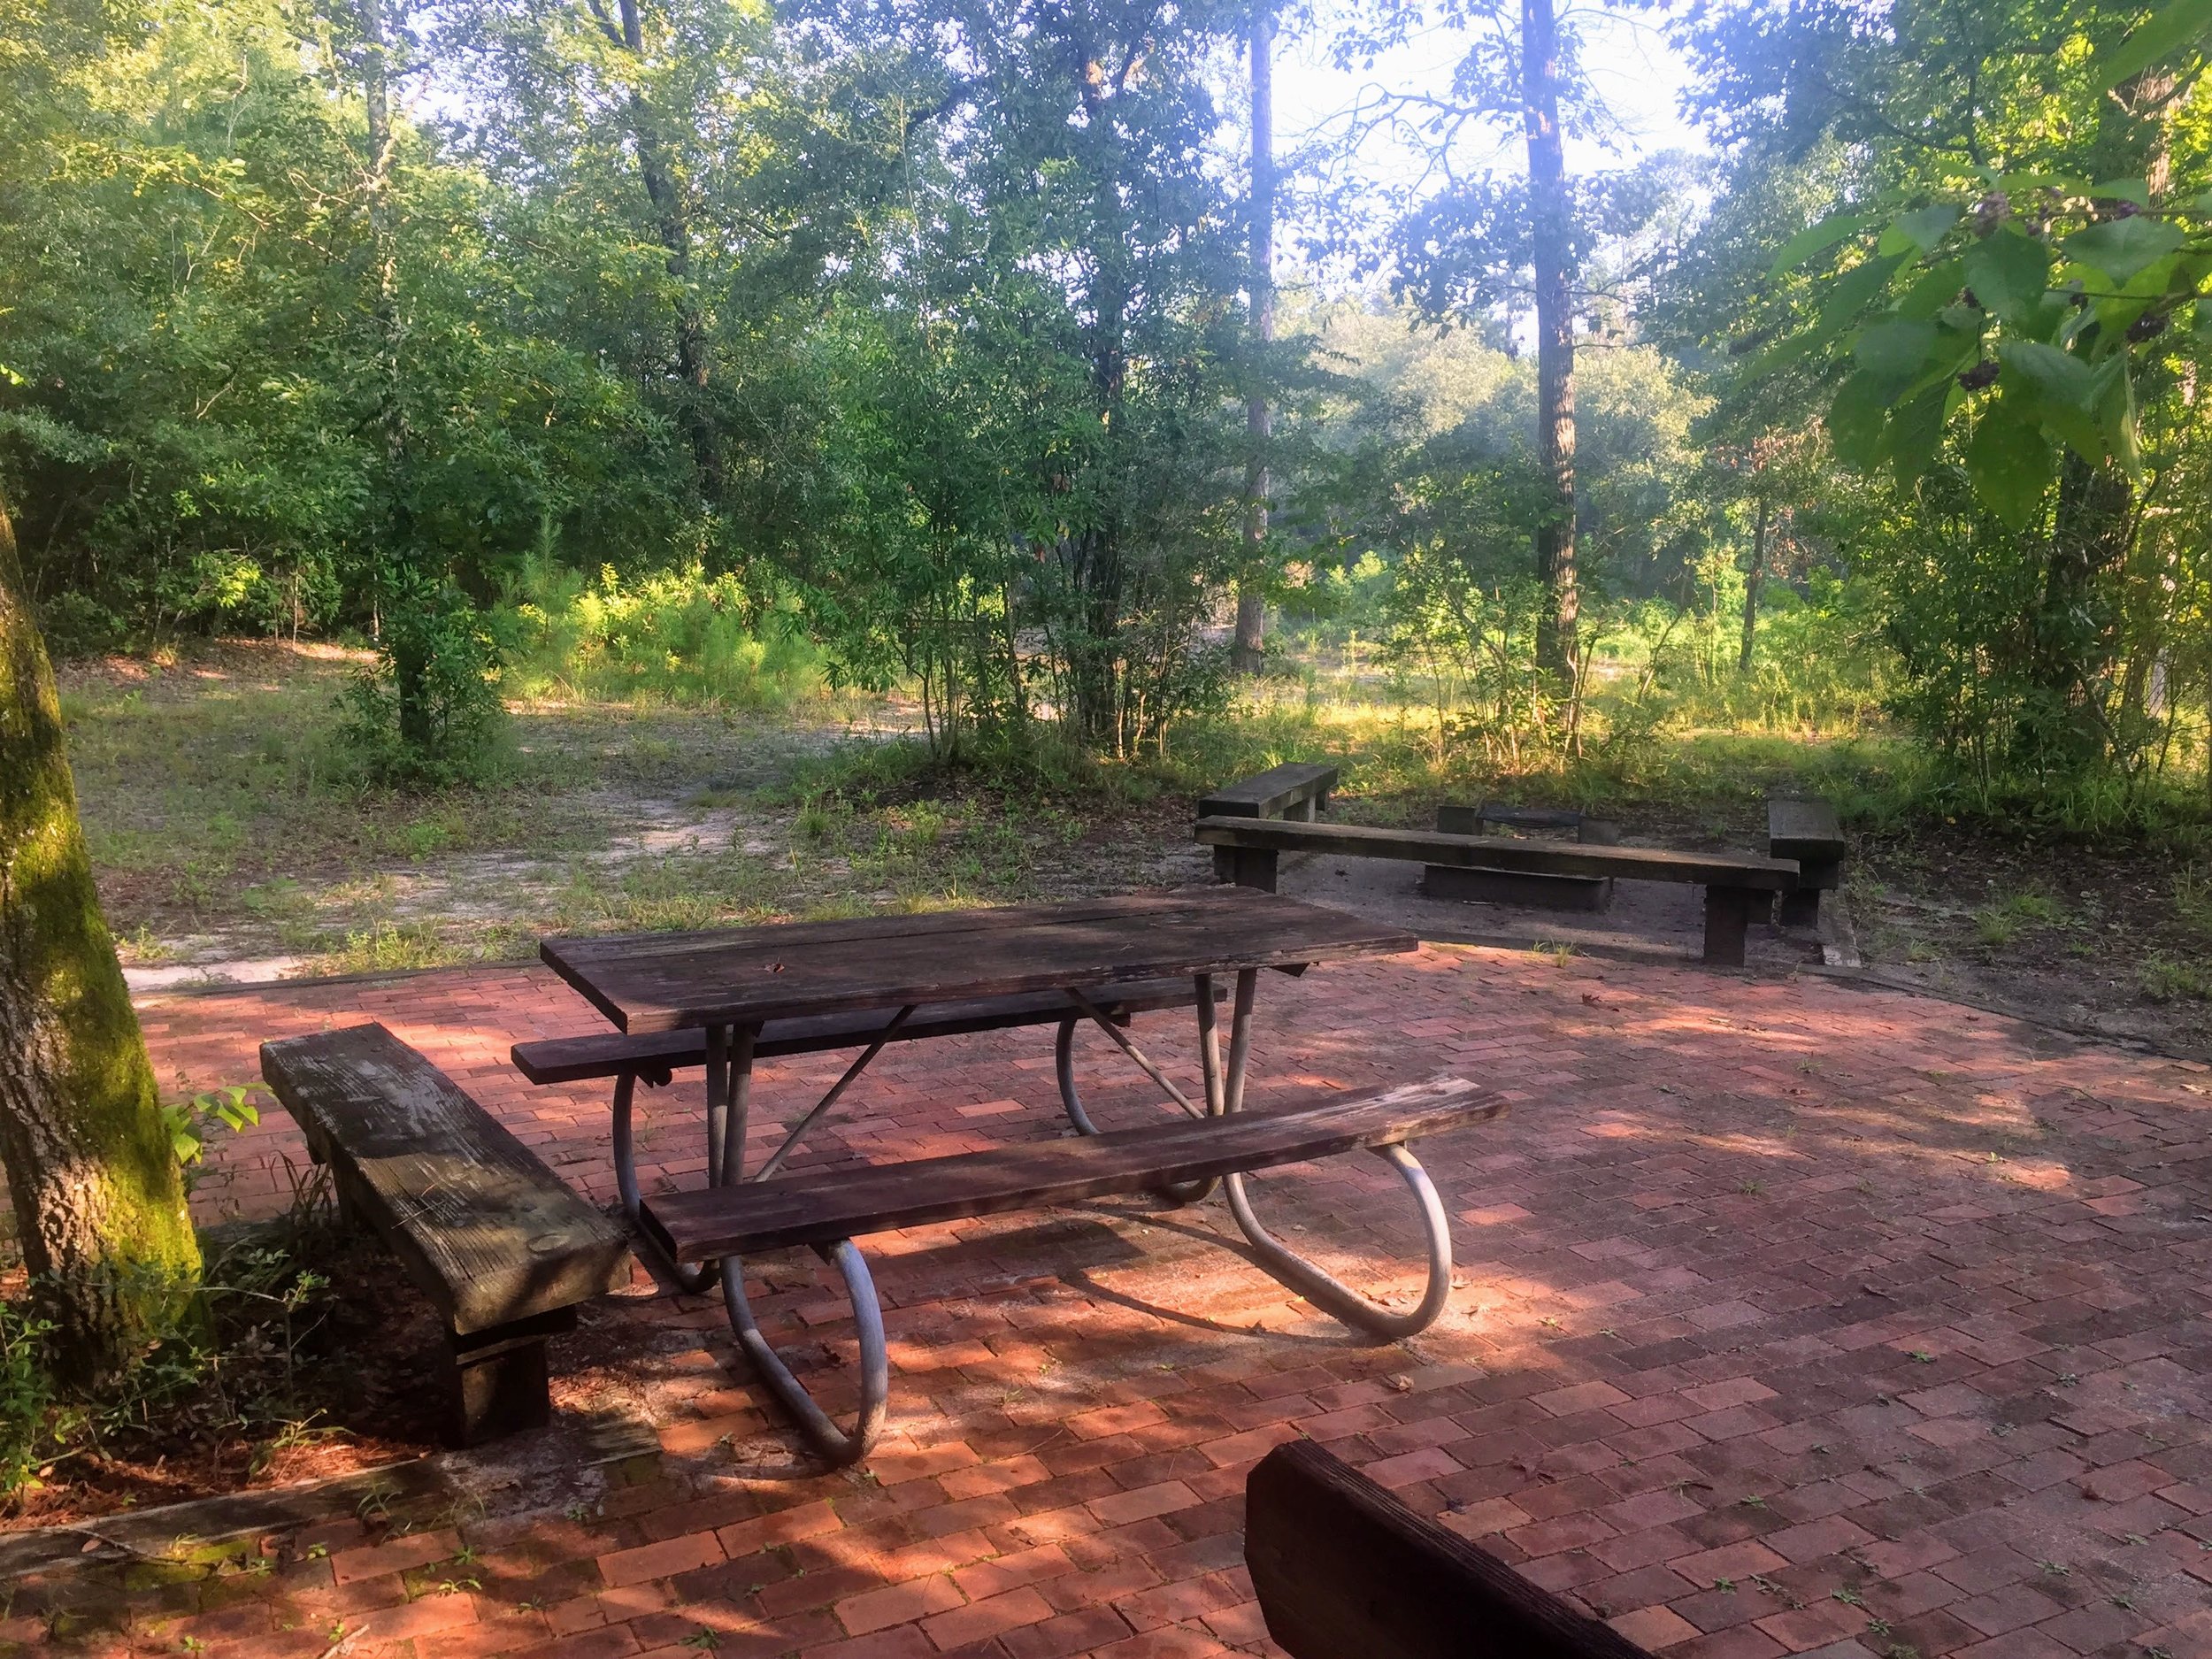
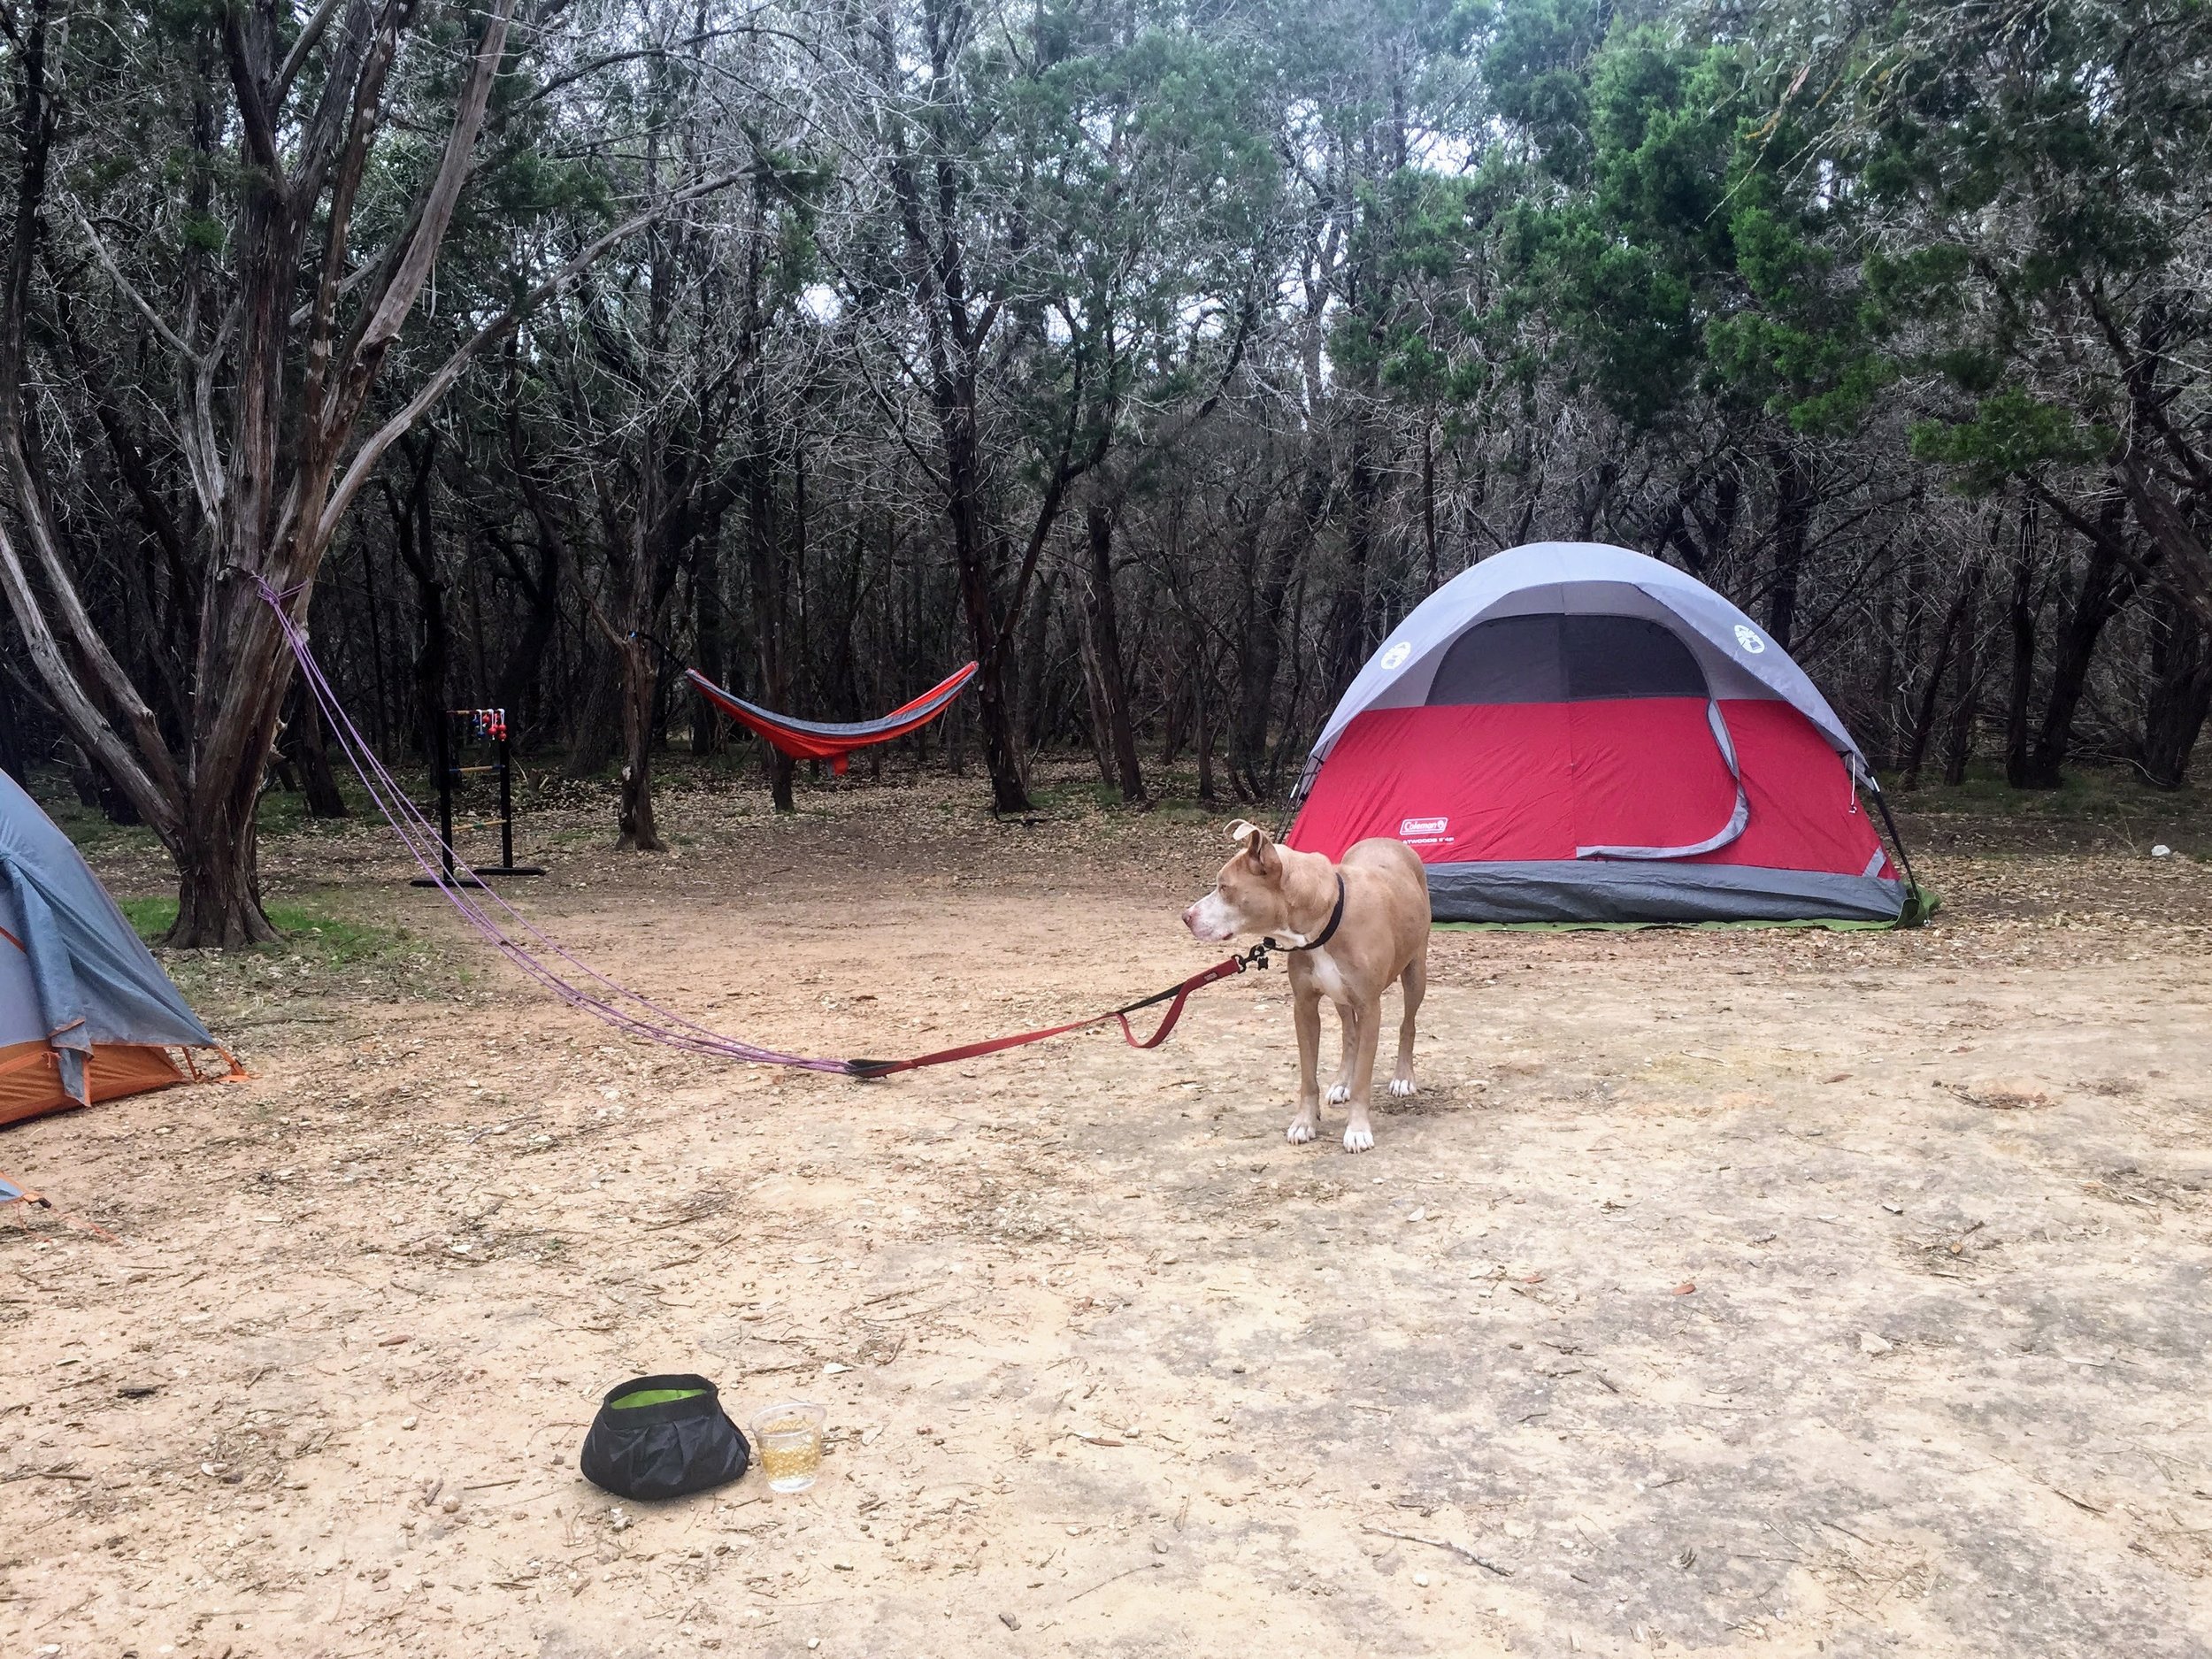
Garner State Park has over 400 spots available for camping; this is a huge amount compared to other parks I've been to and speaks to why they have a ridiculous wait time to check in. It also explains why the park feels like a miniature city in some places. There is a huge pavilion where dances are held nightly in the Summer, a burger restaurant, a candy store, and putt putt golf.
Garner State Park at a glance
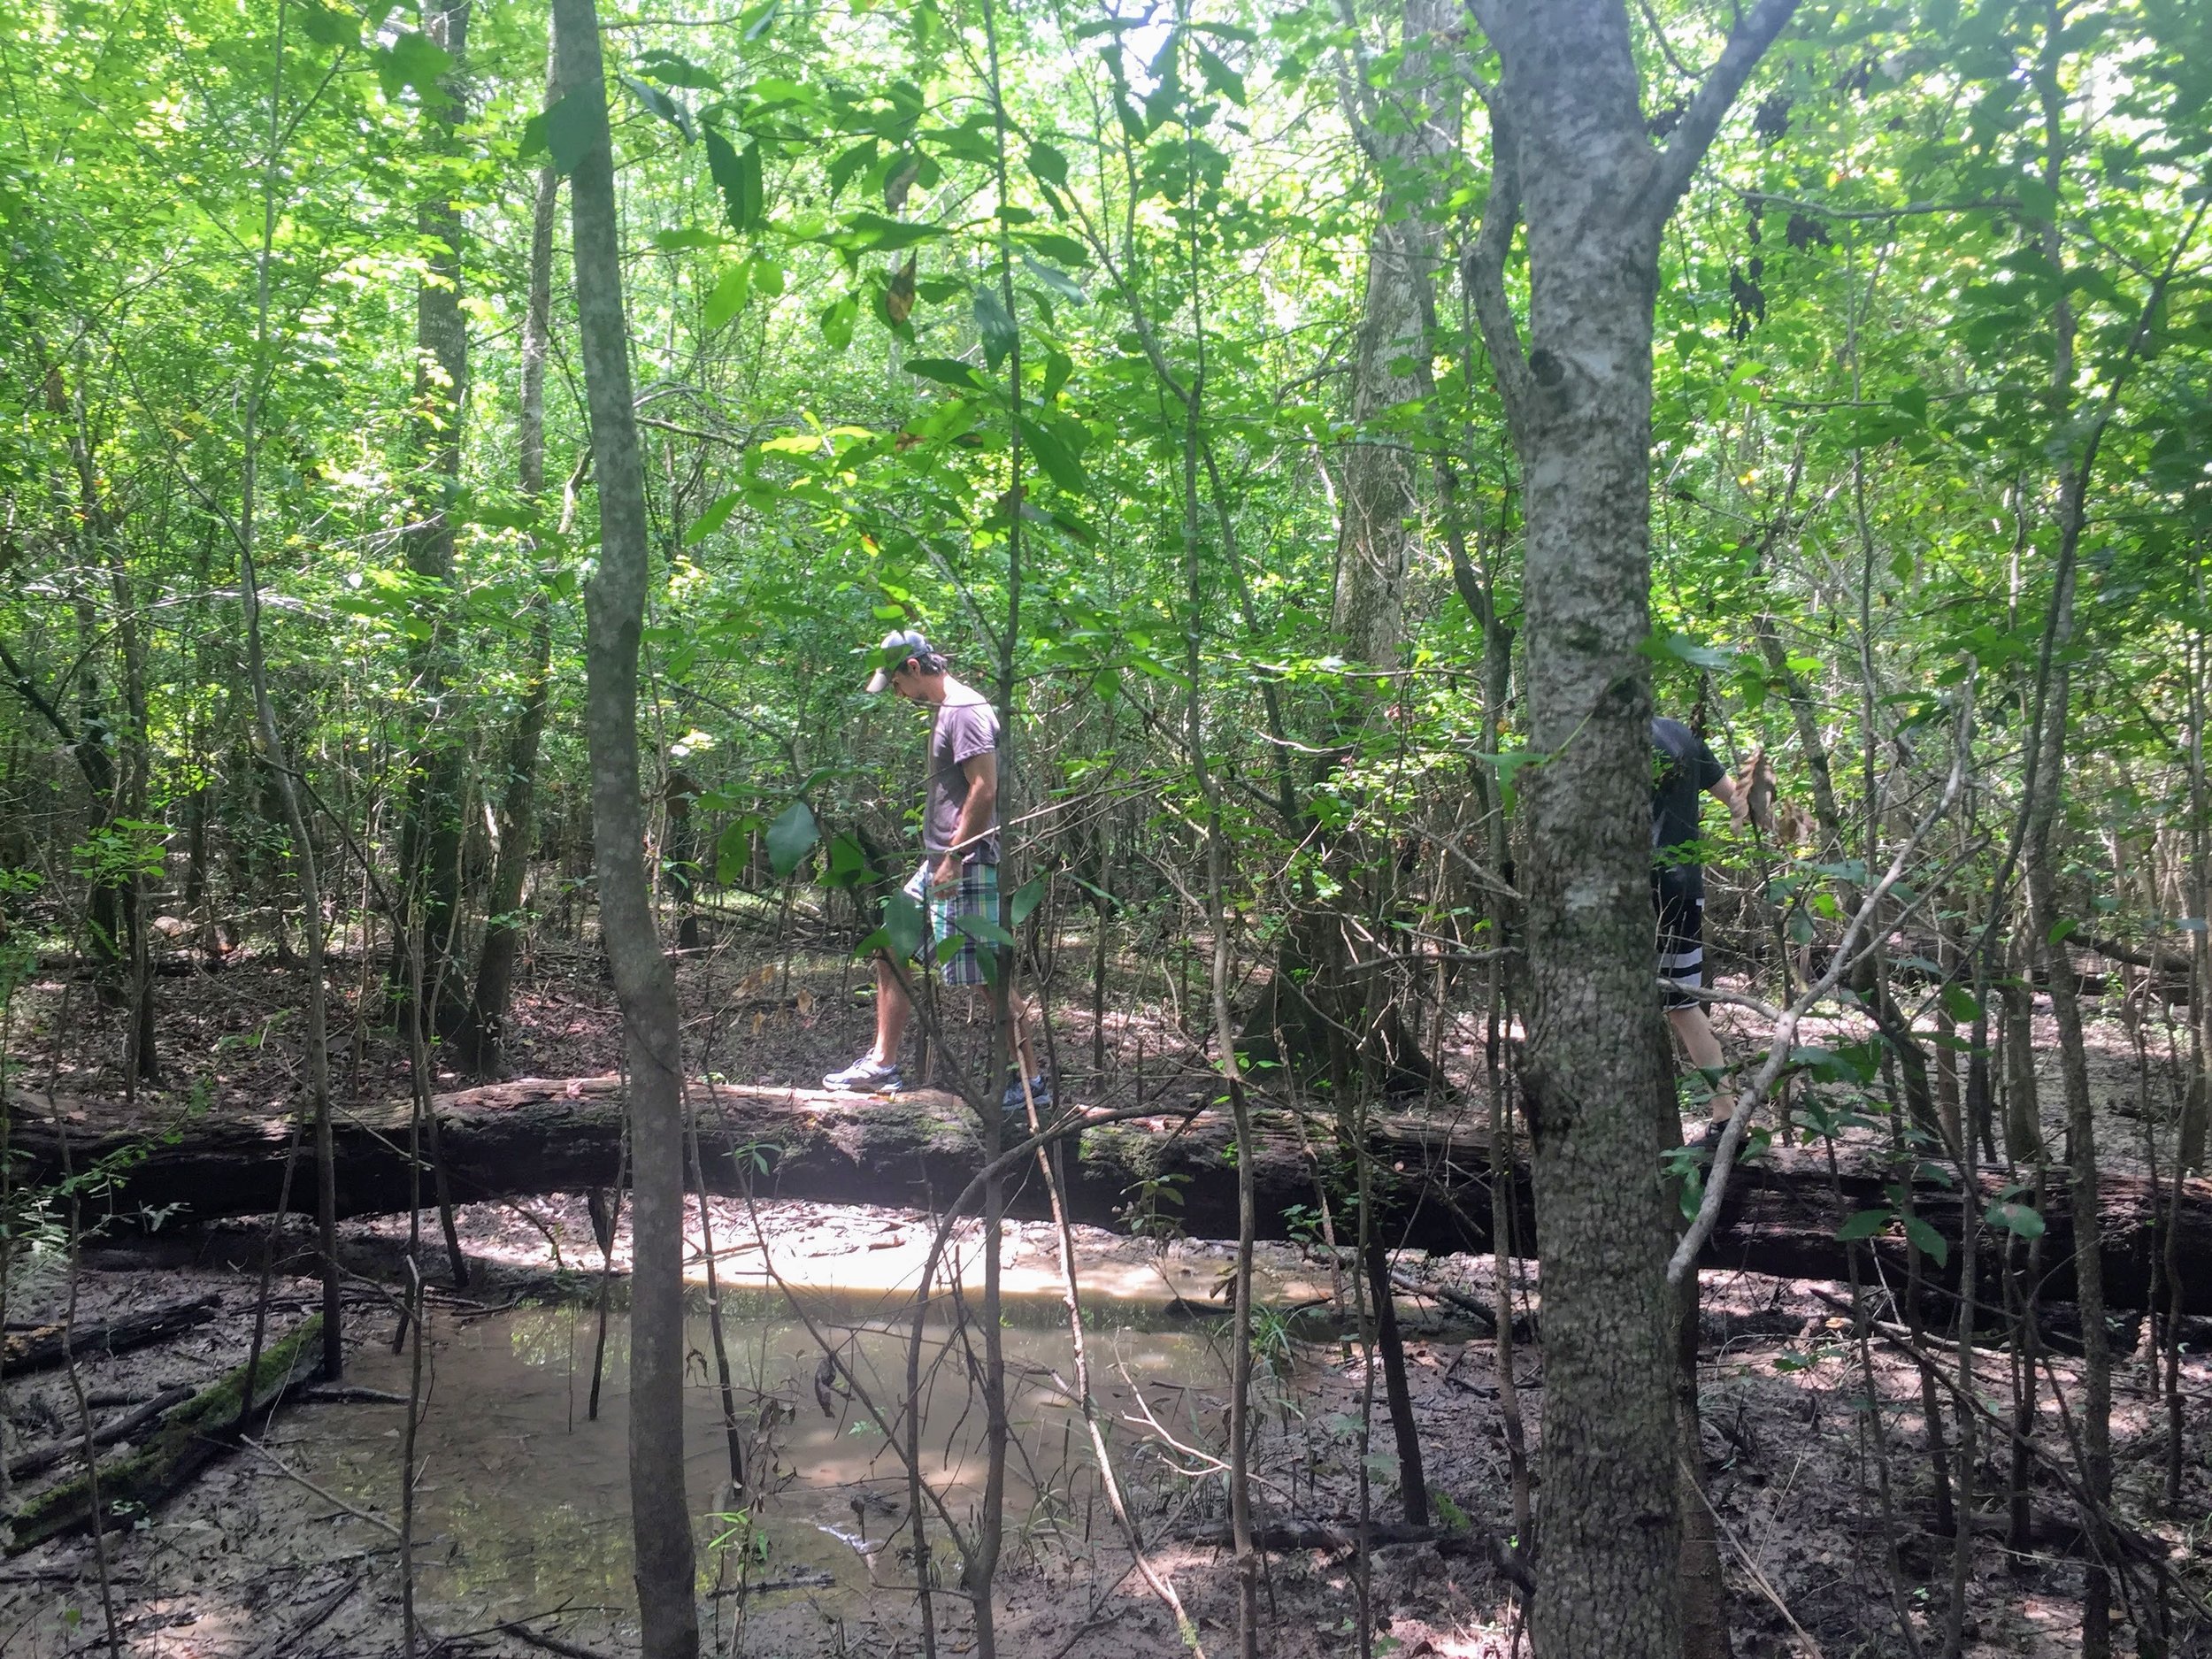
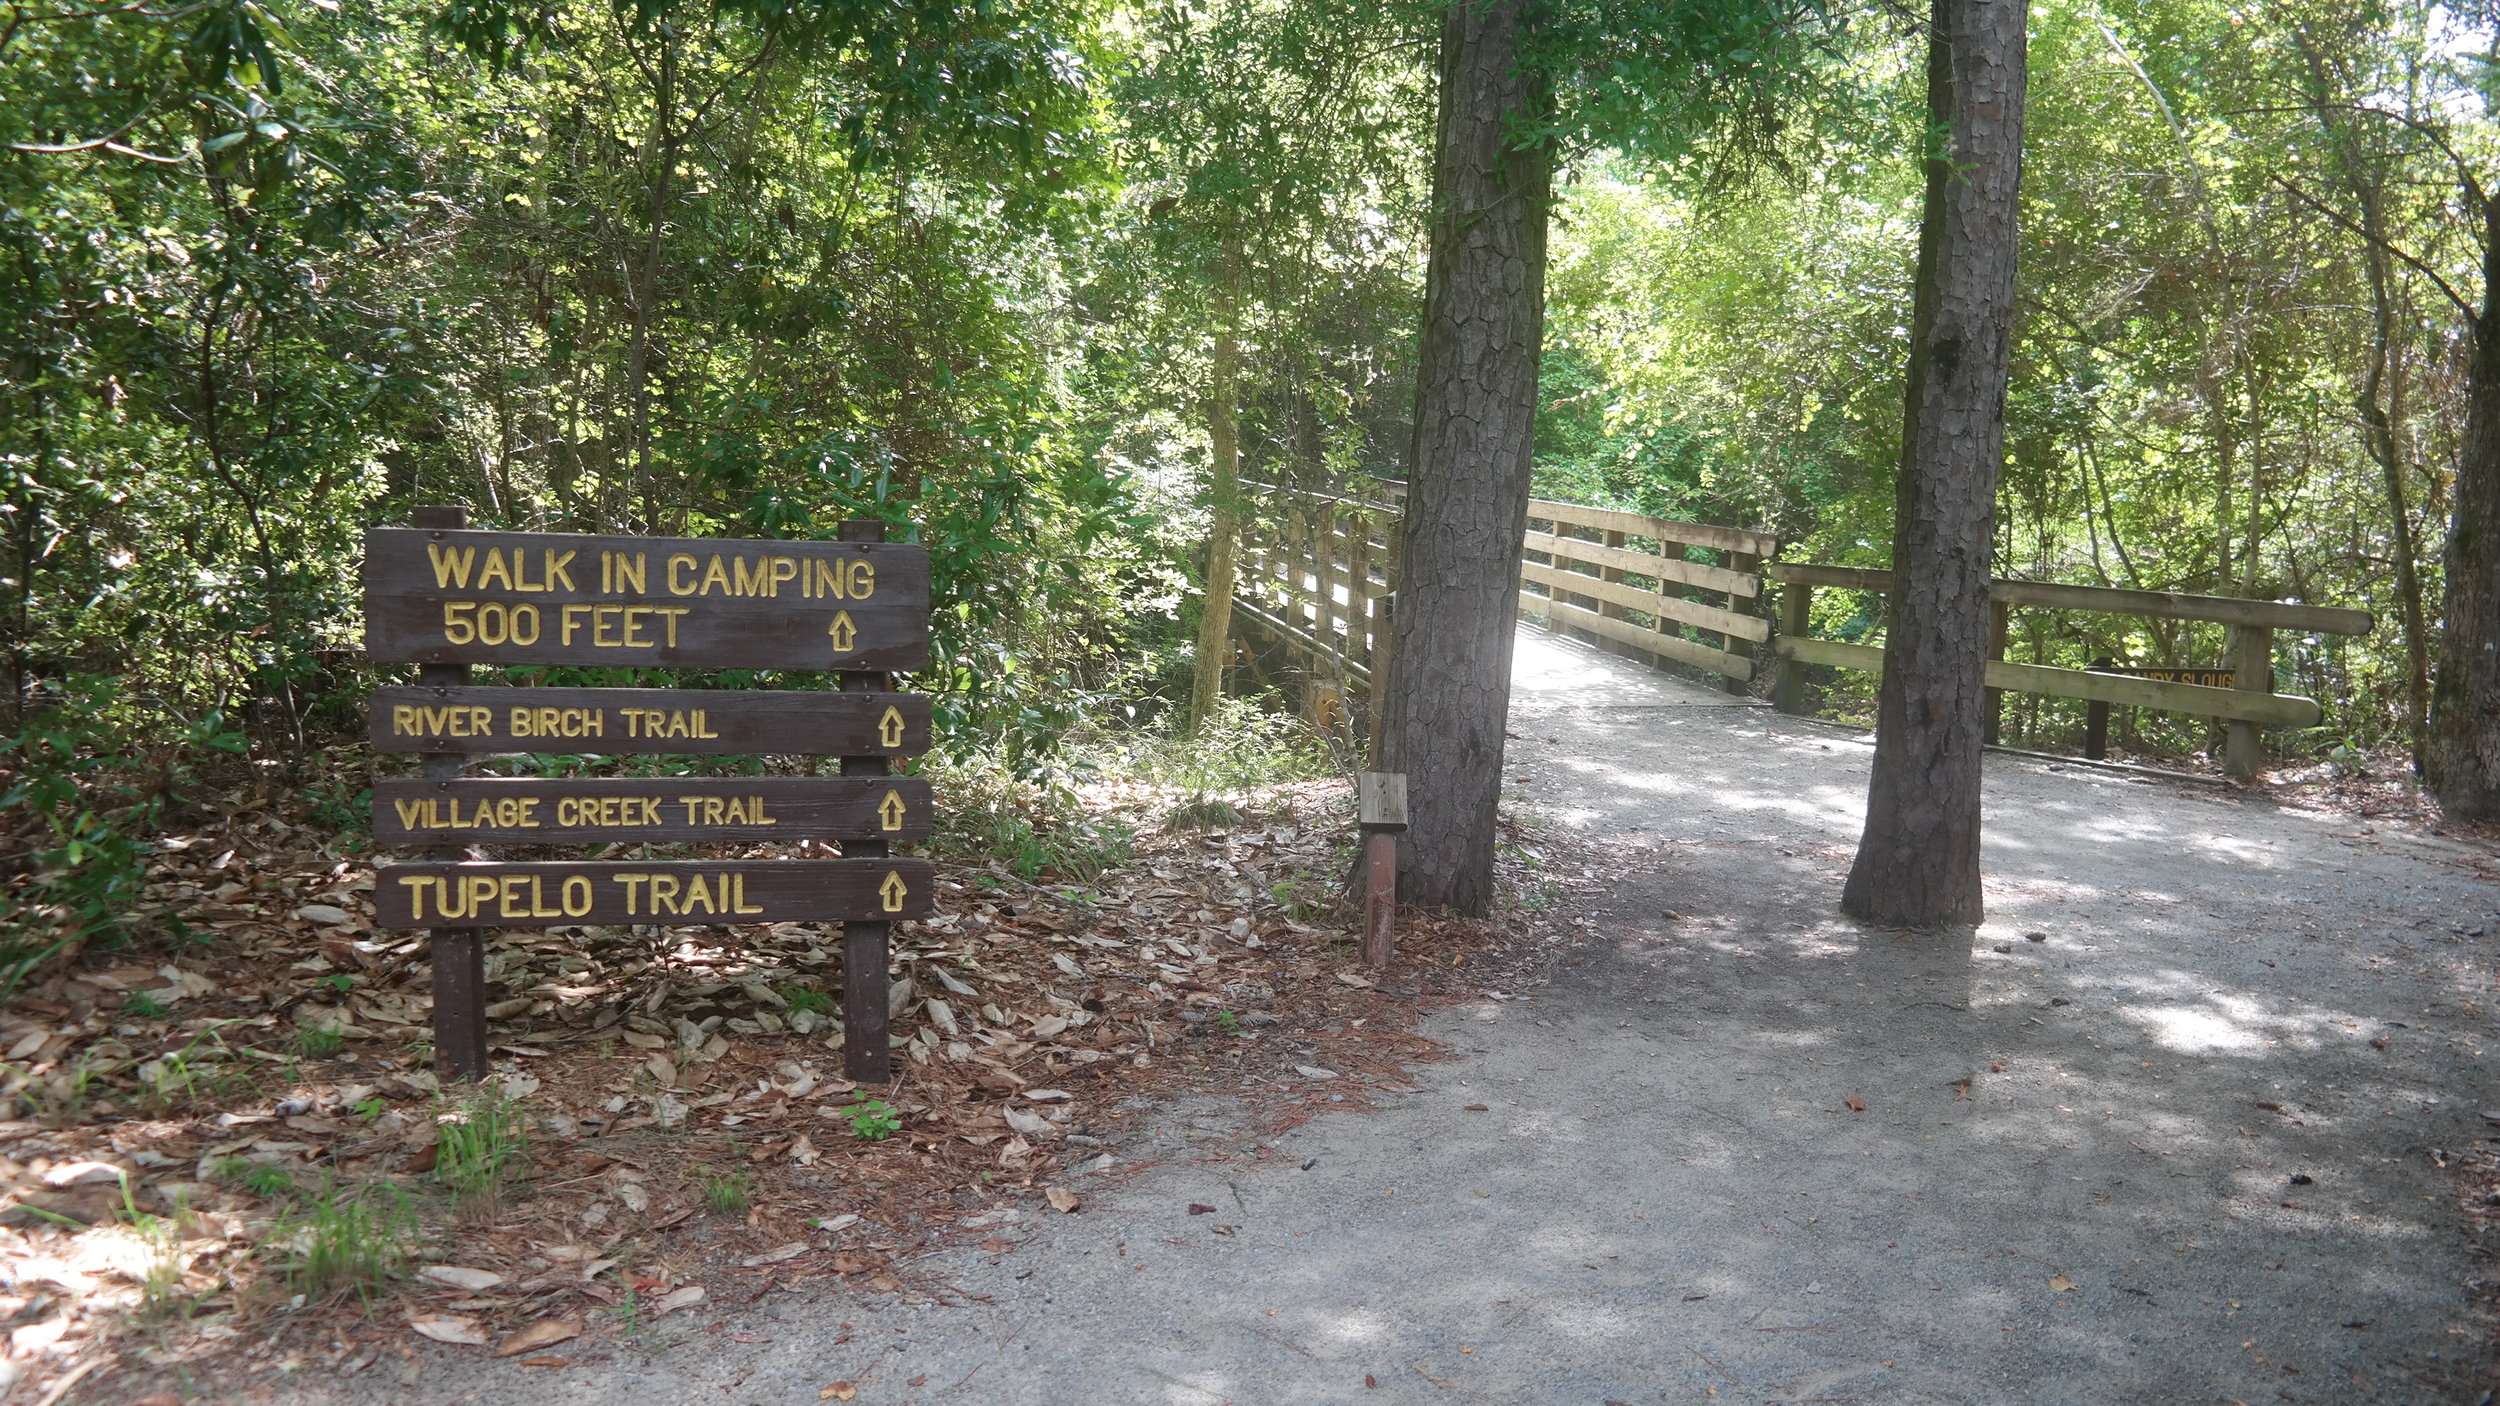
- 11 miles of hiking trails
- Onsite putt-putt golf, candy store, and burger restaurant
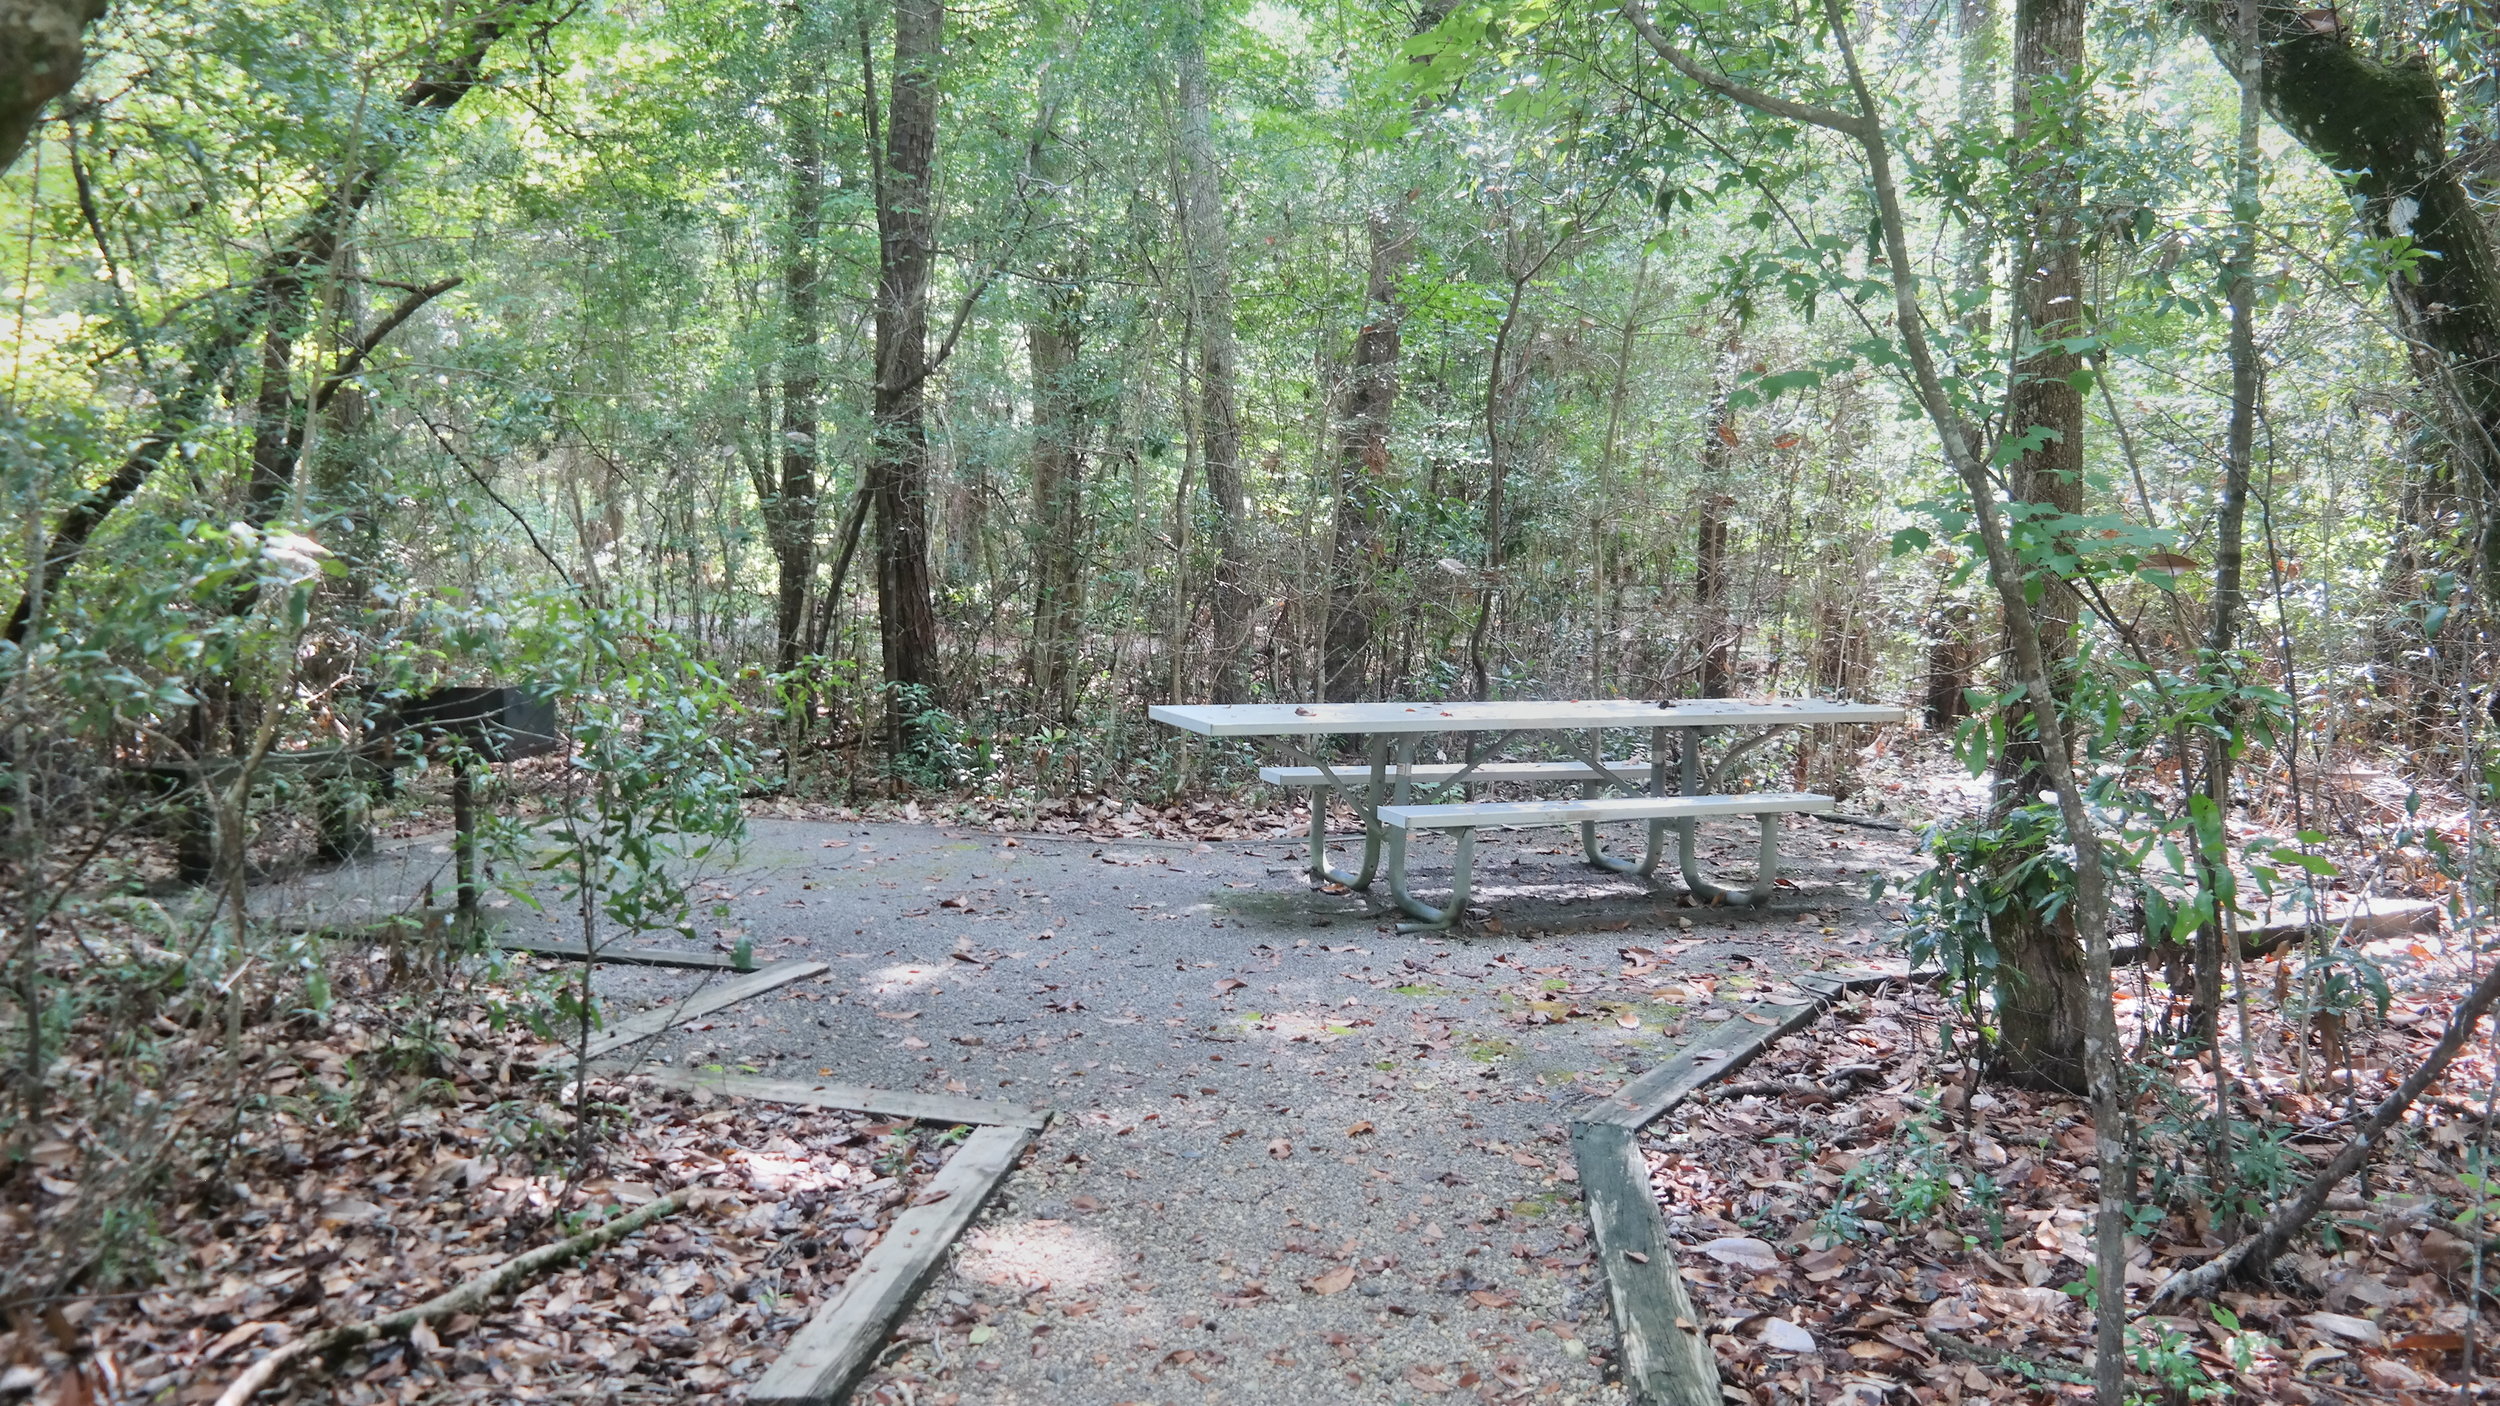
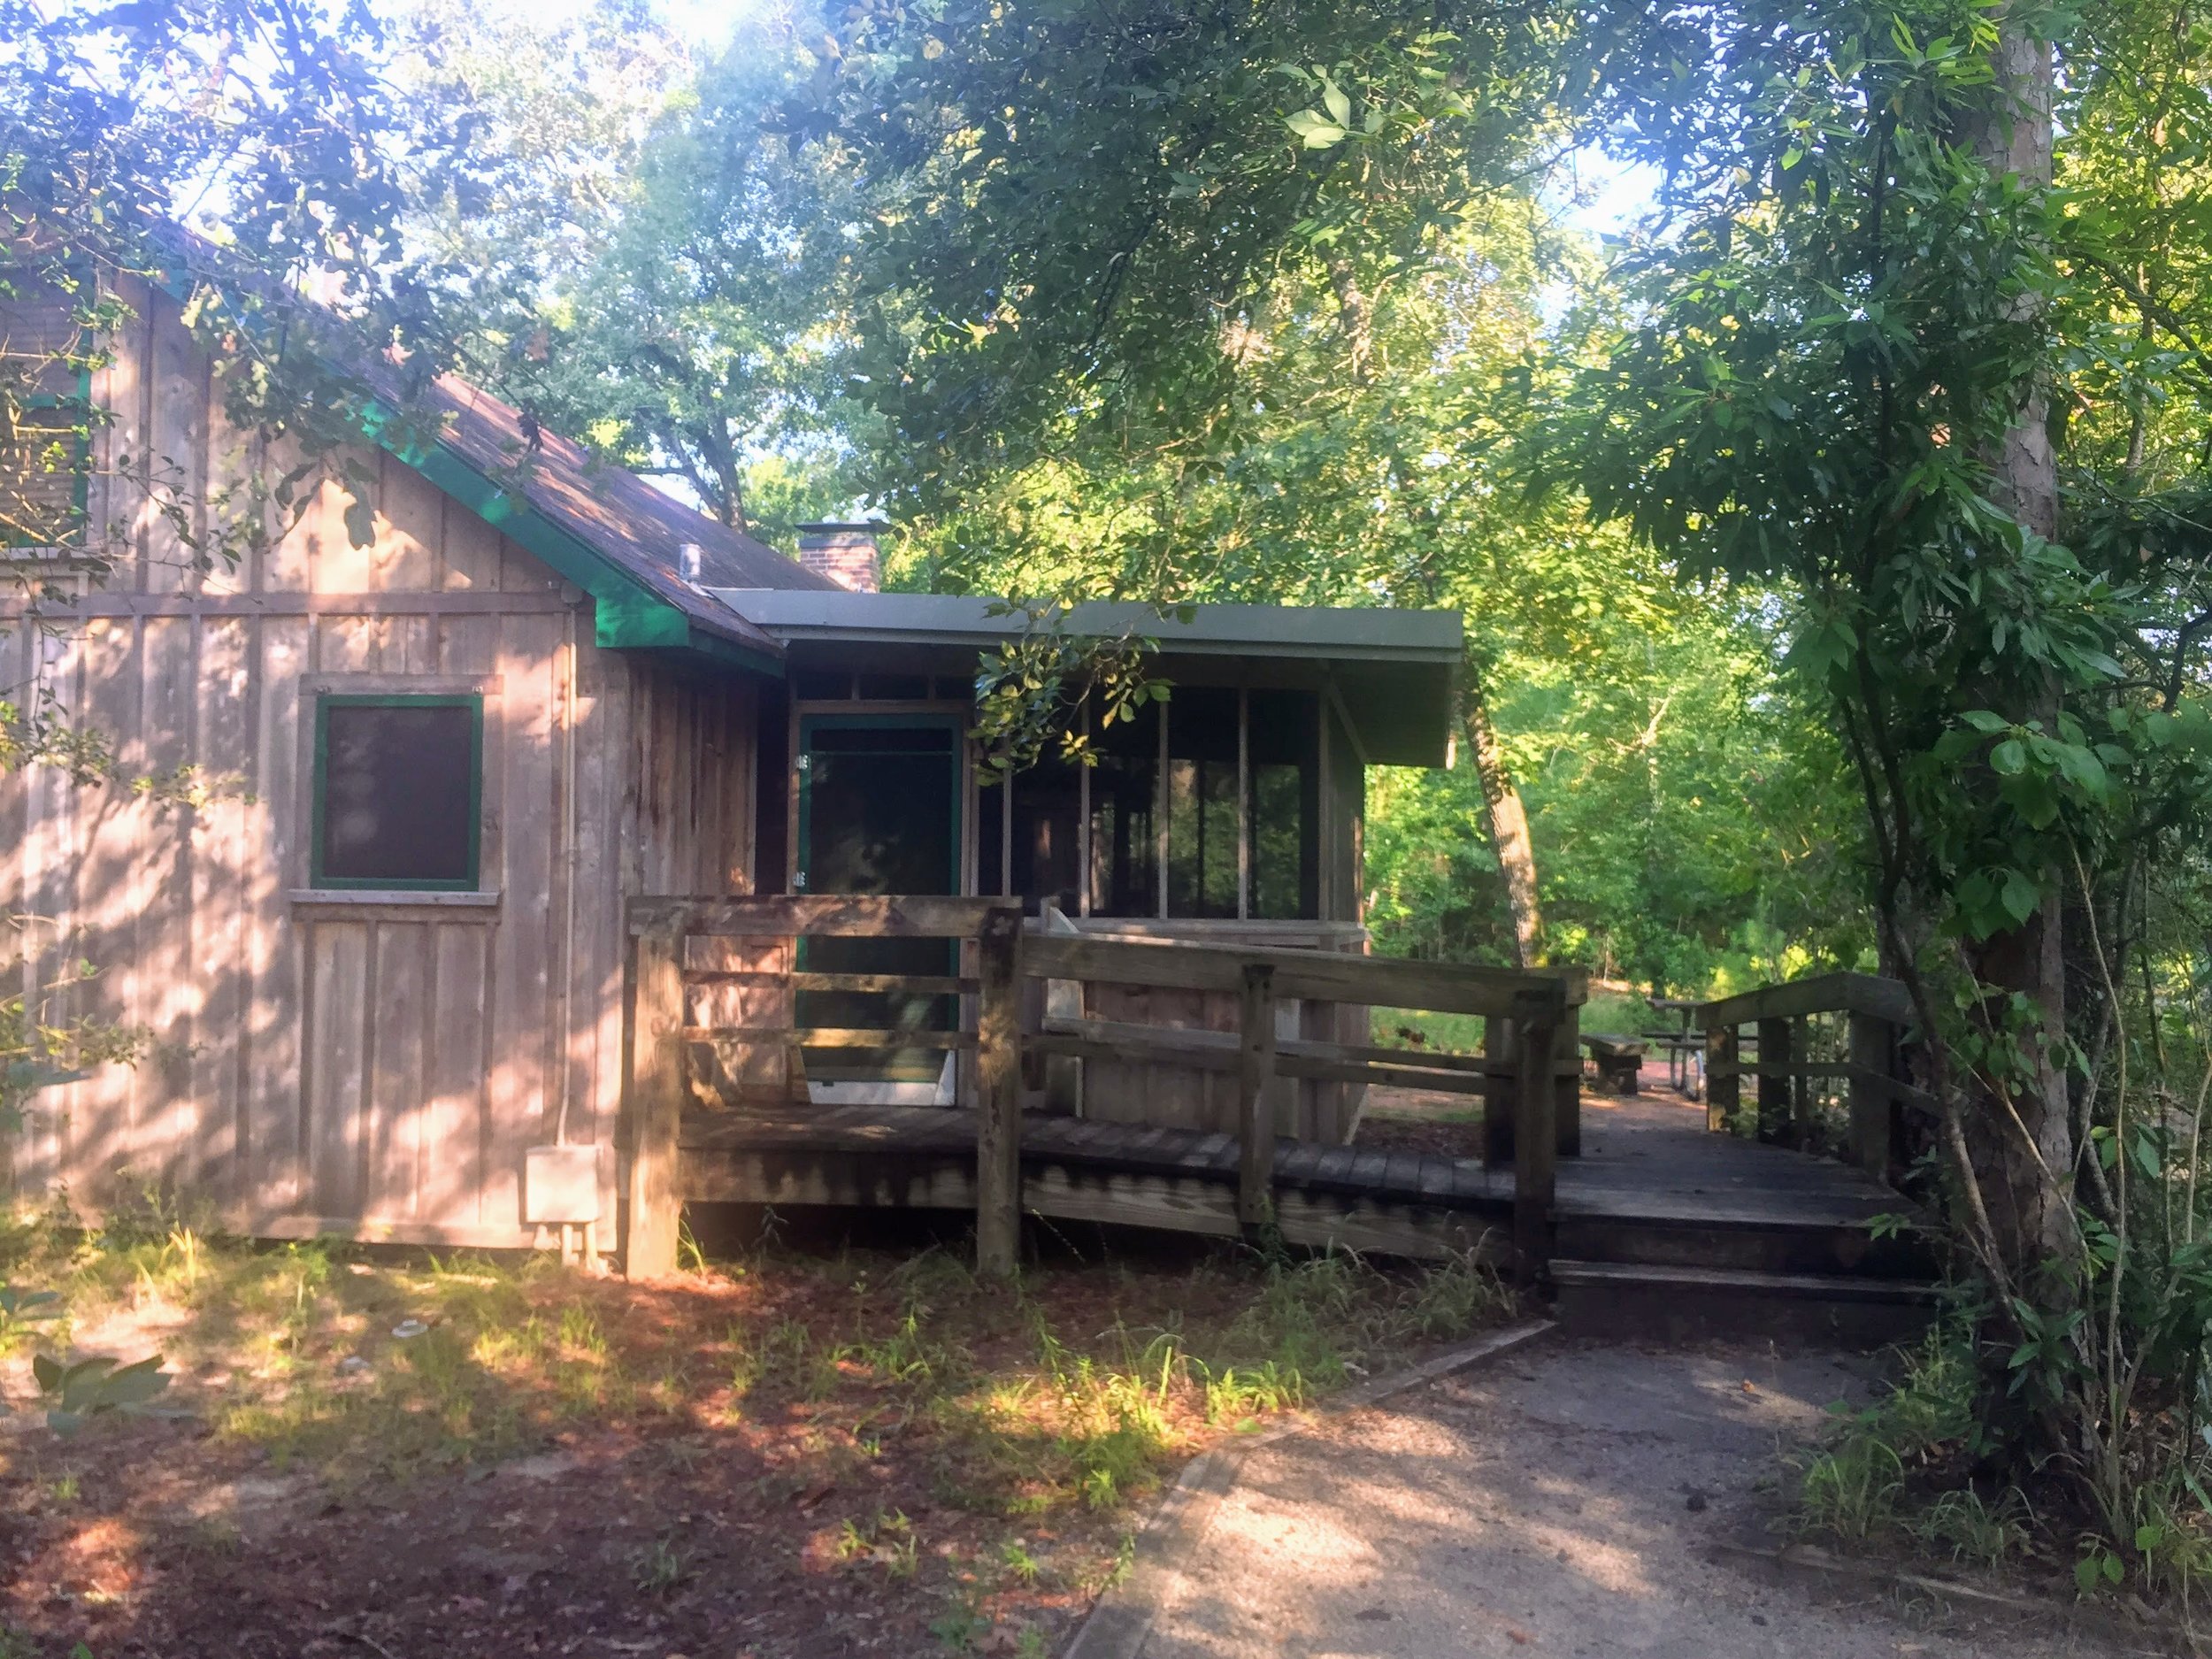
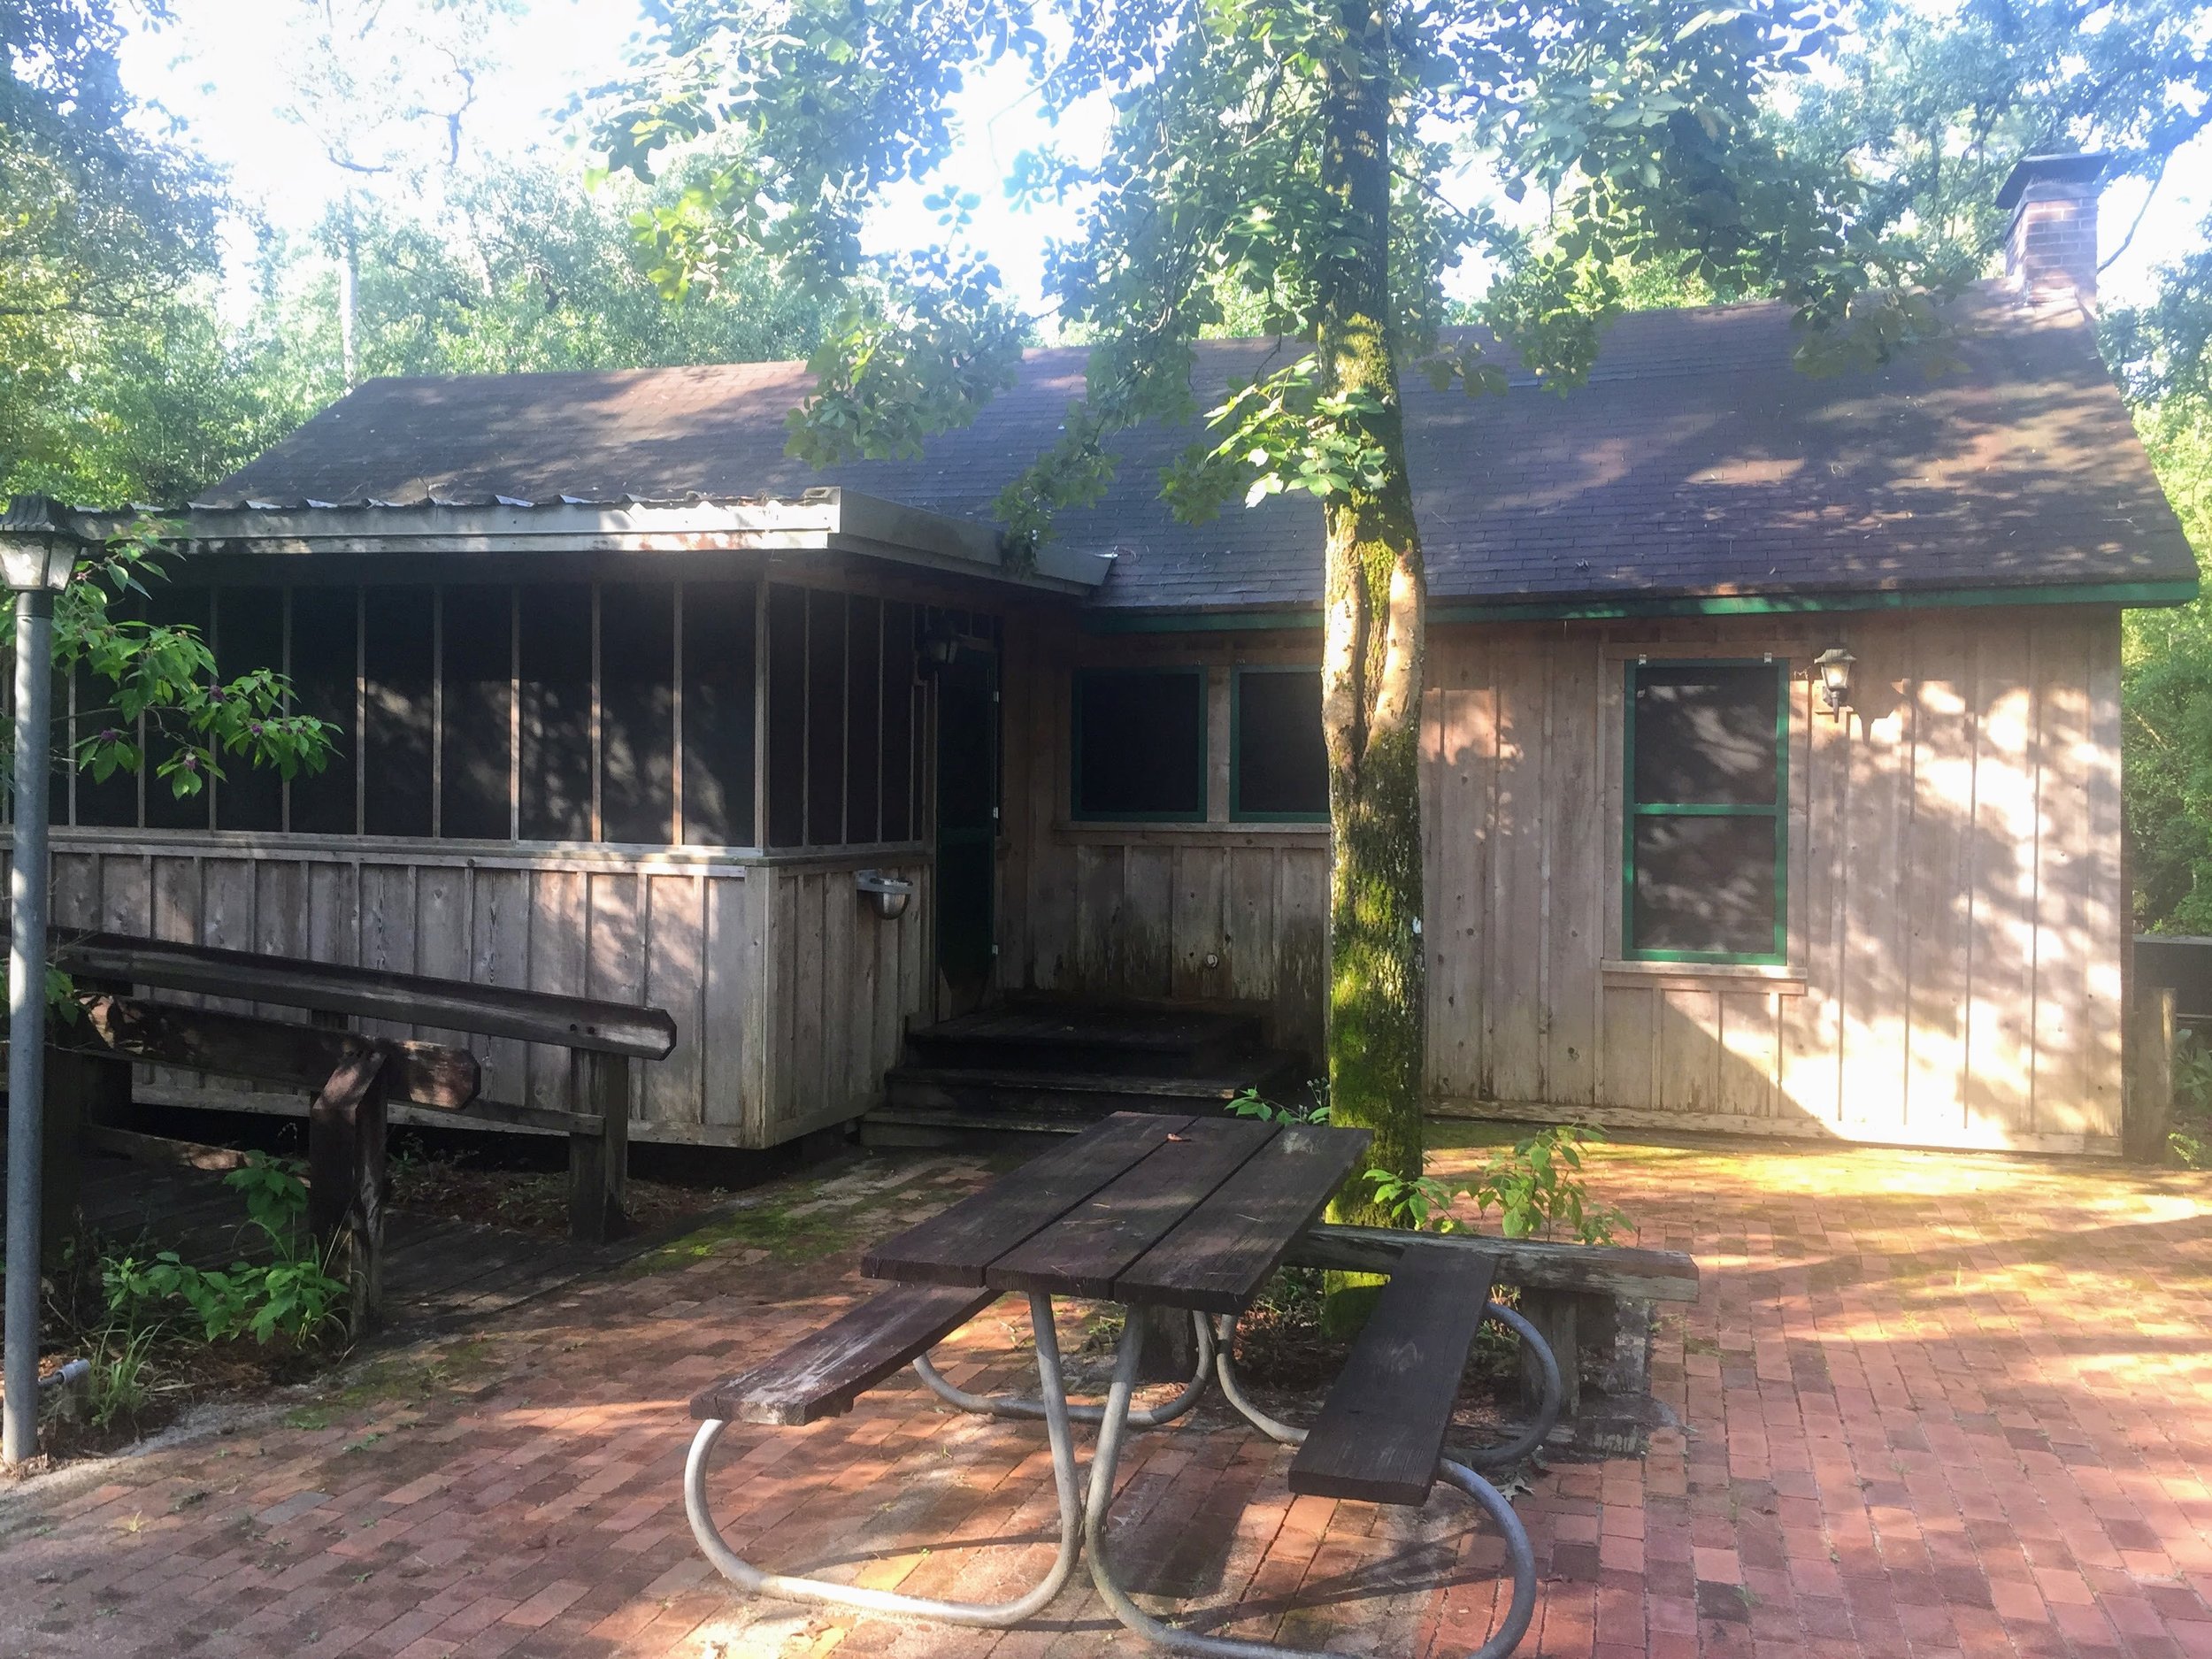
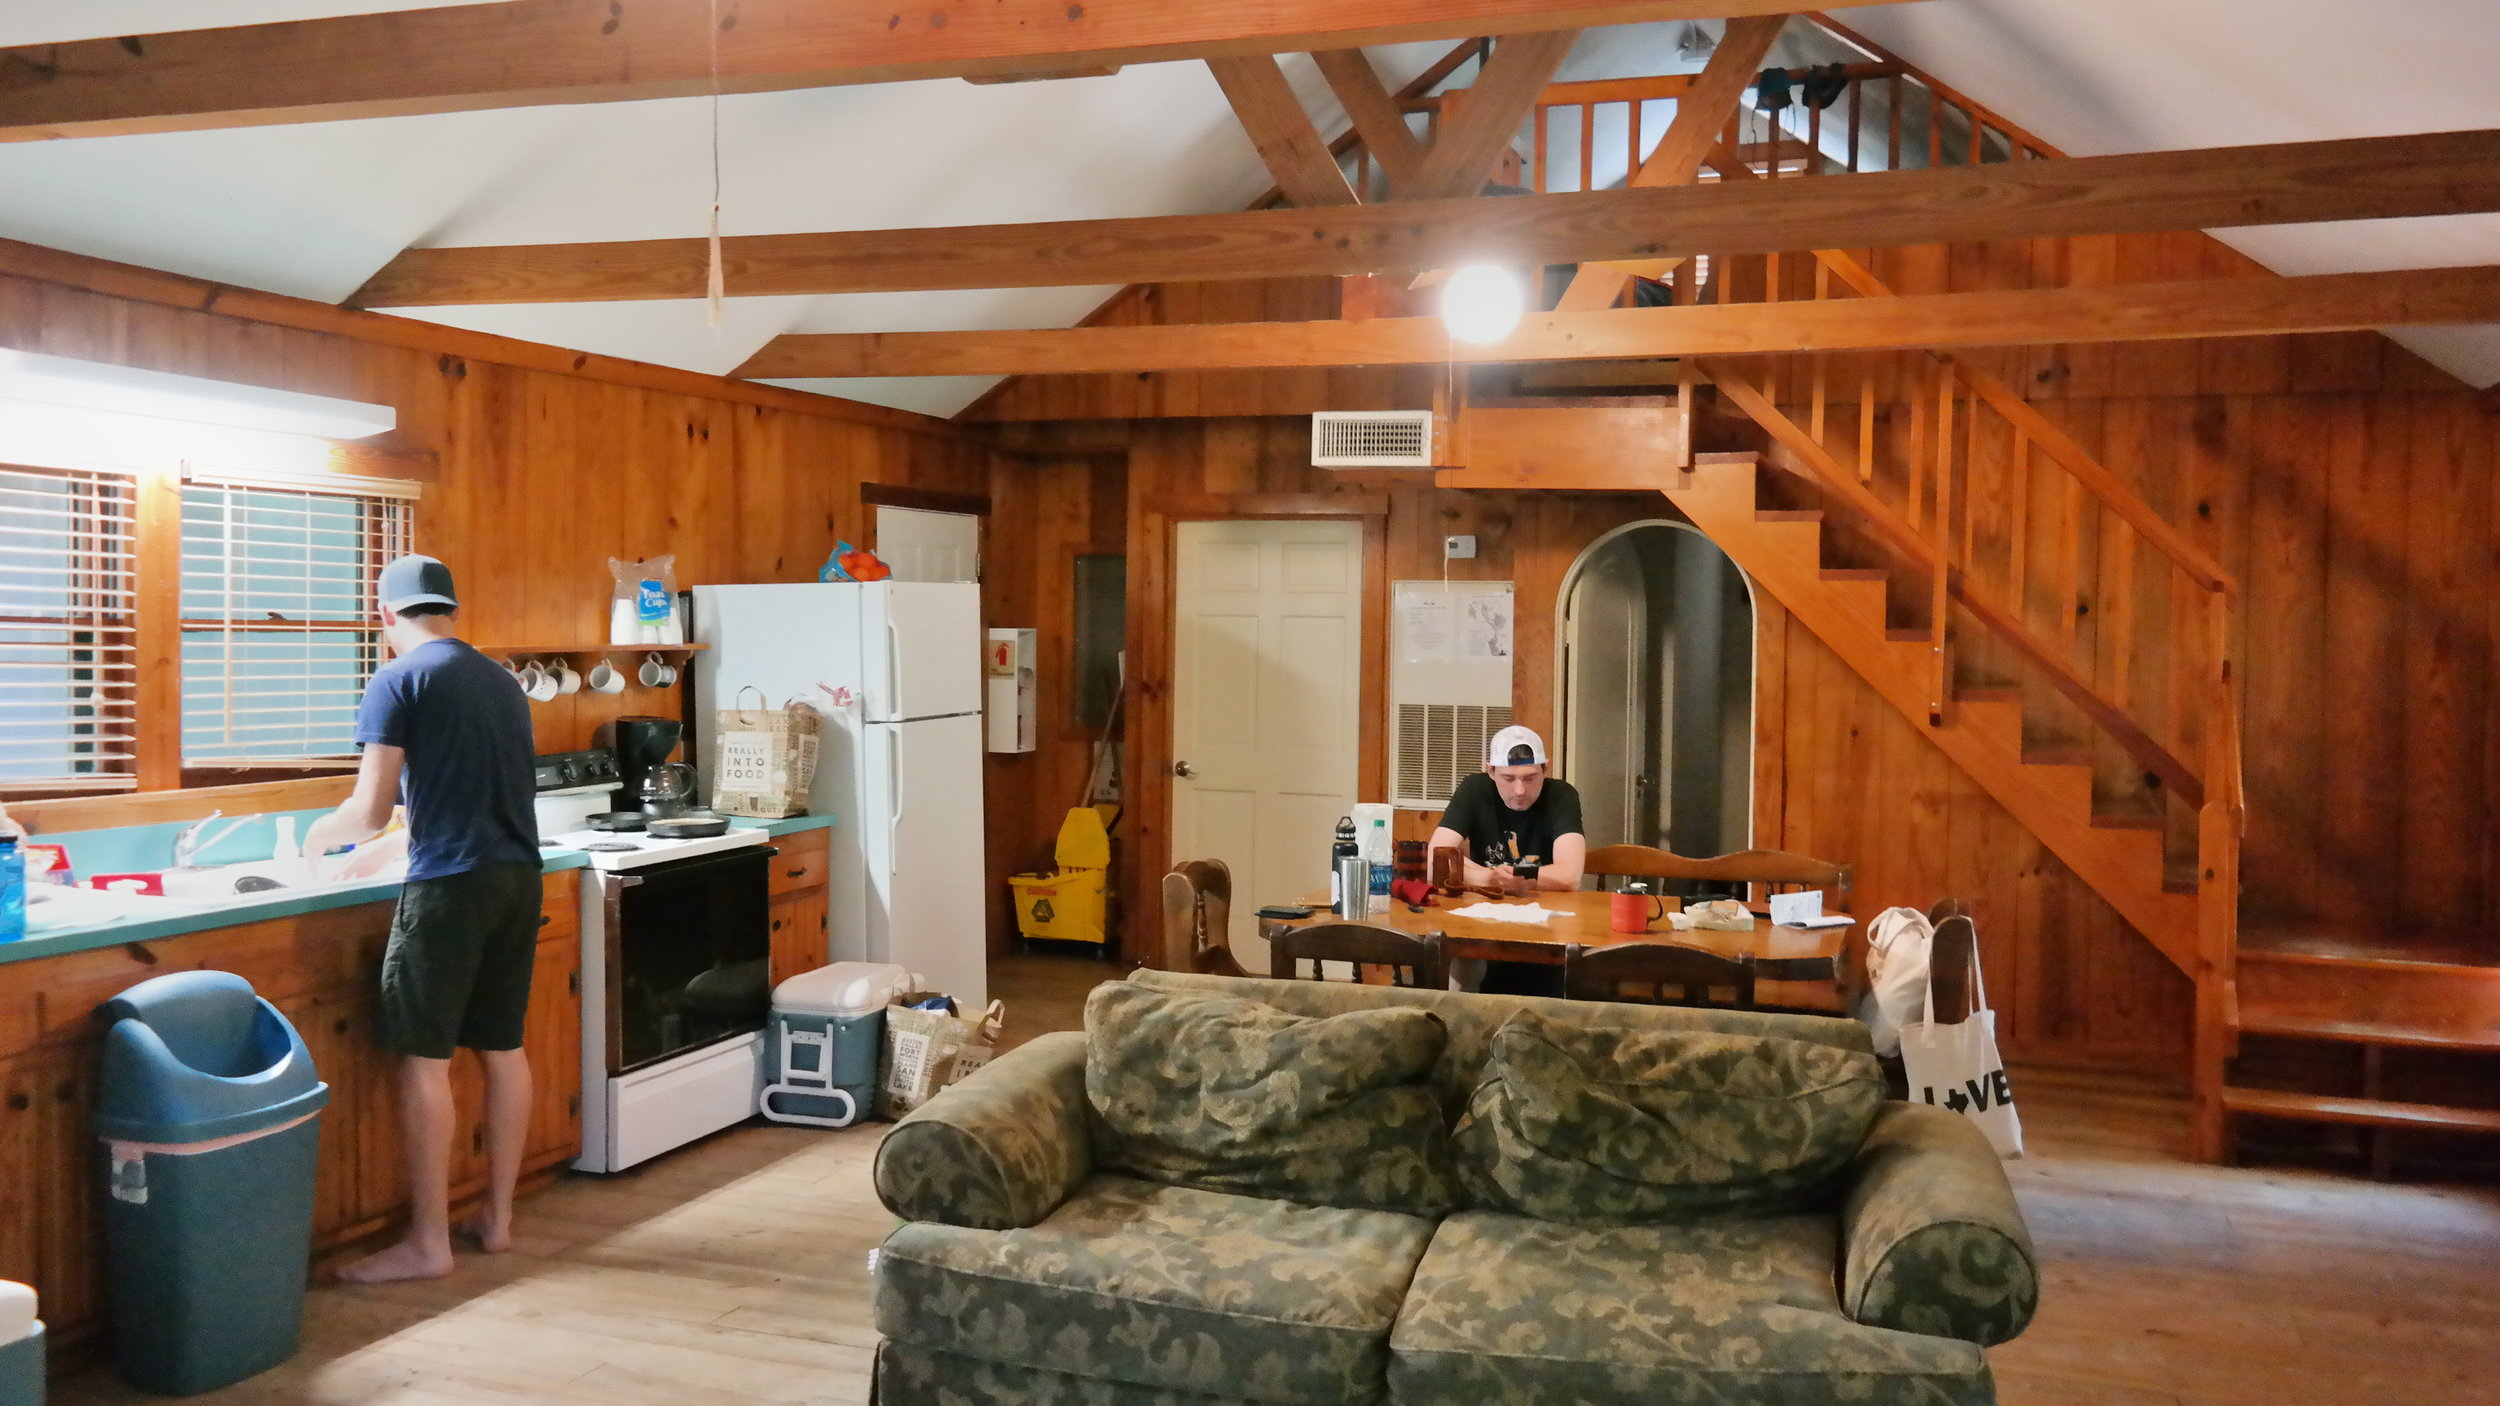
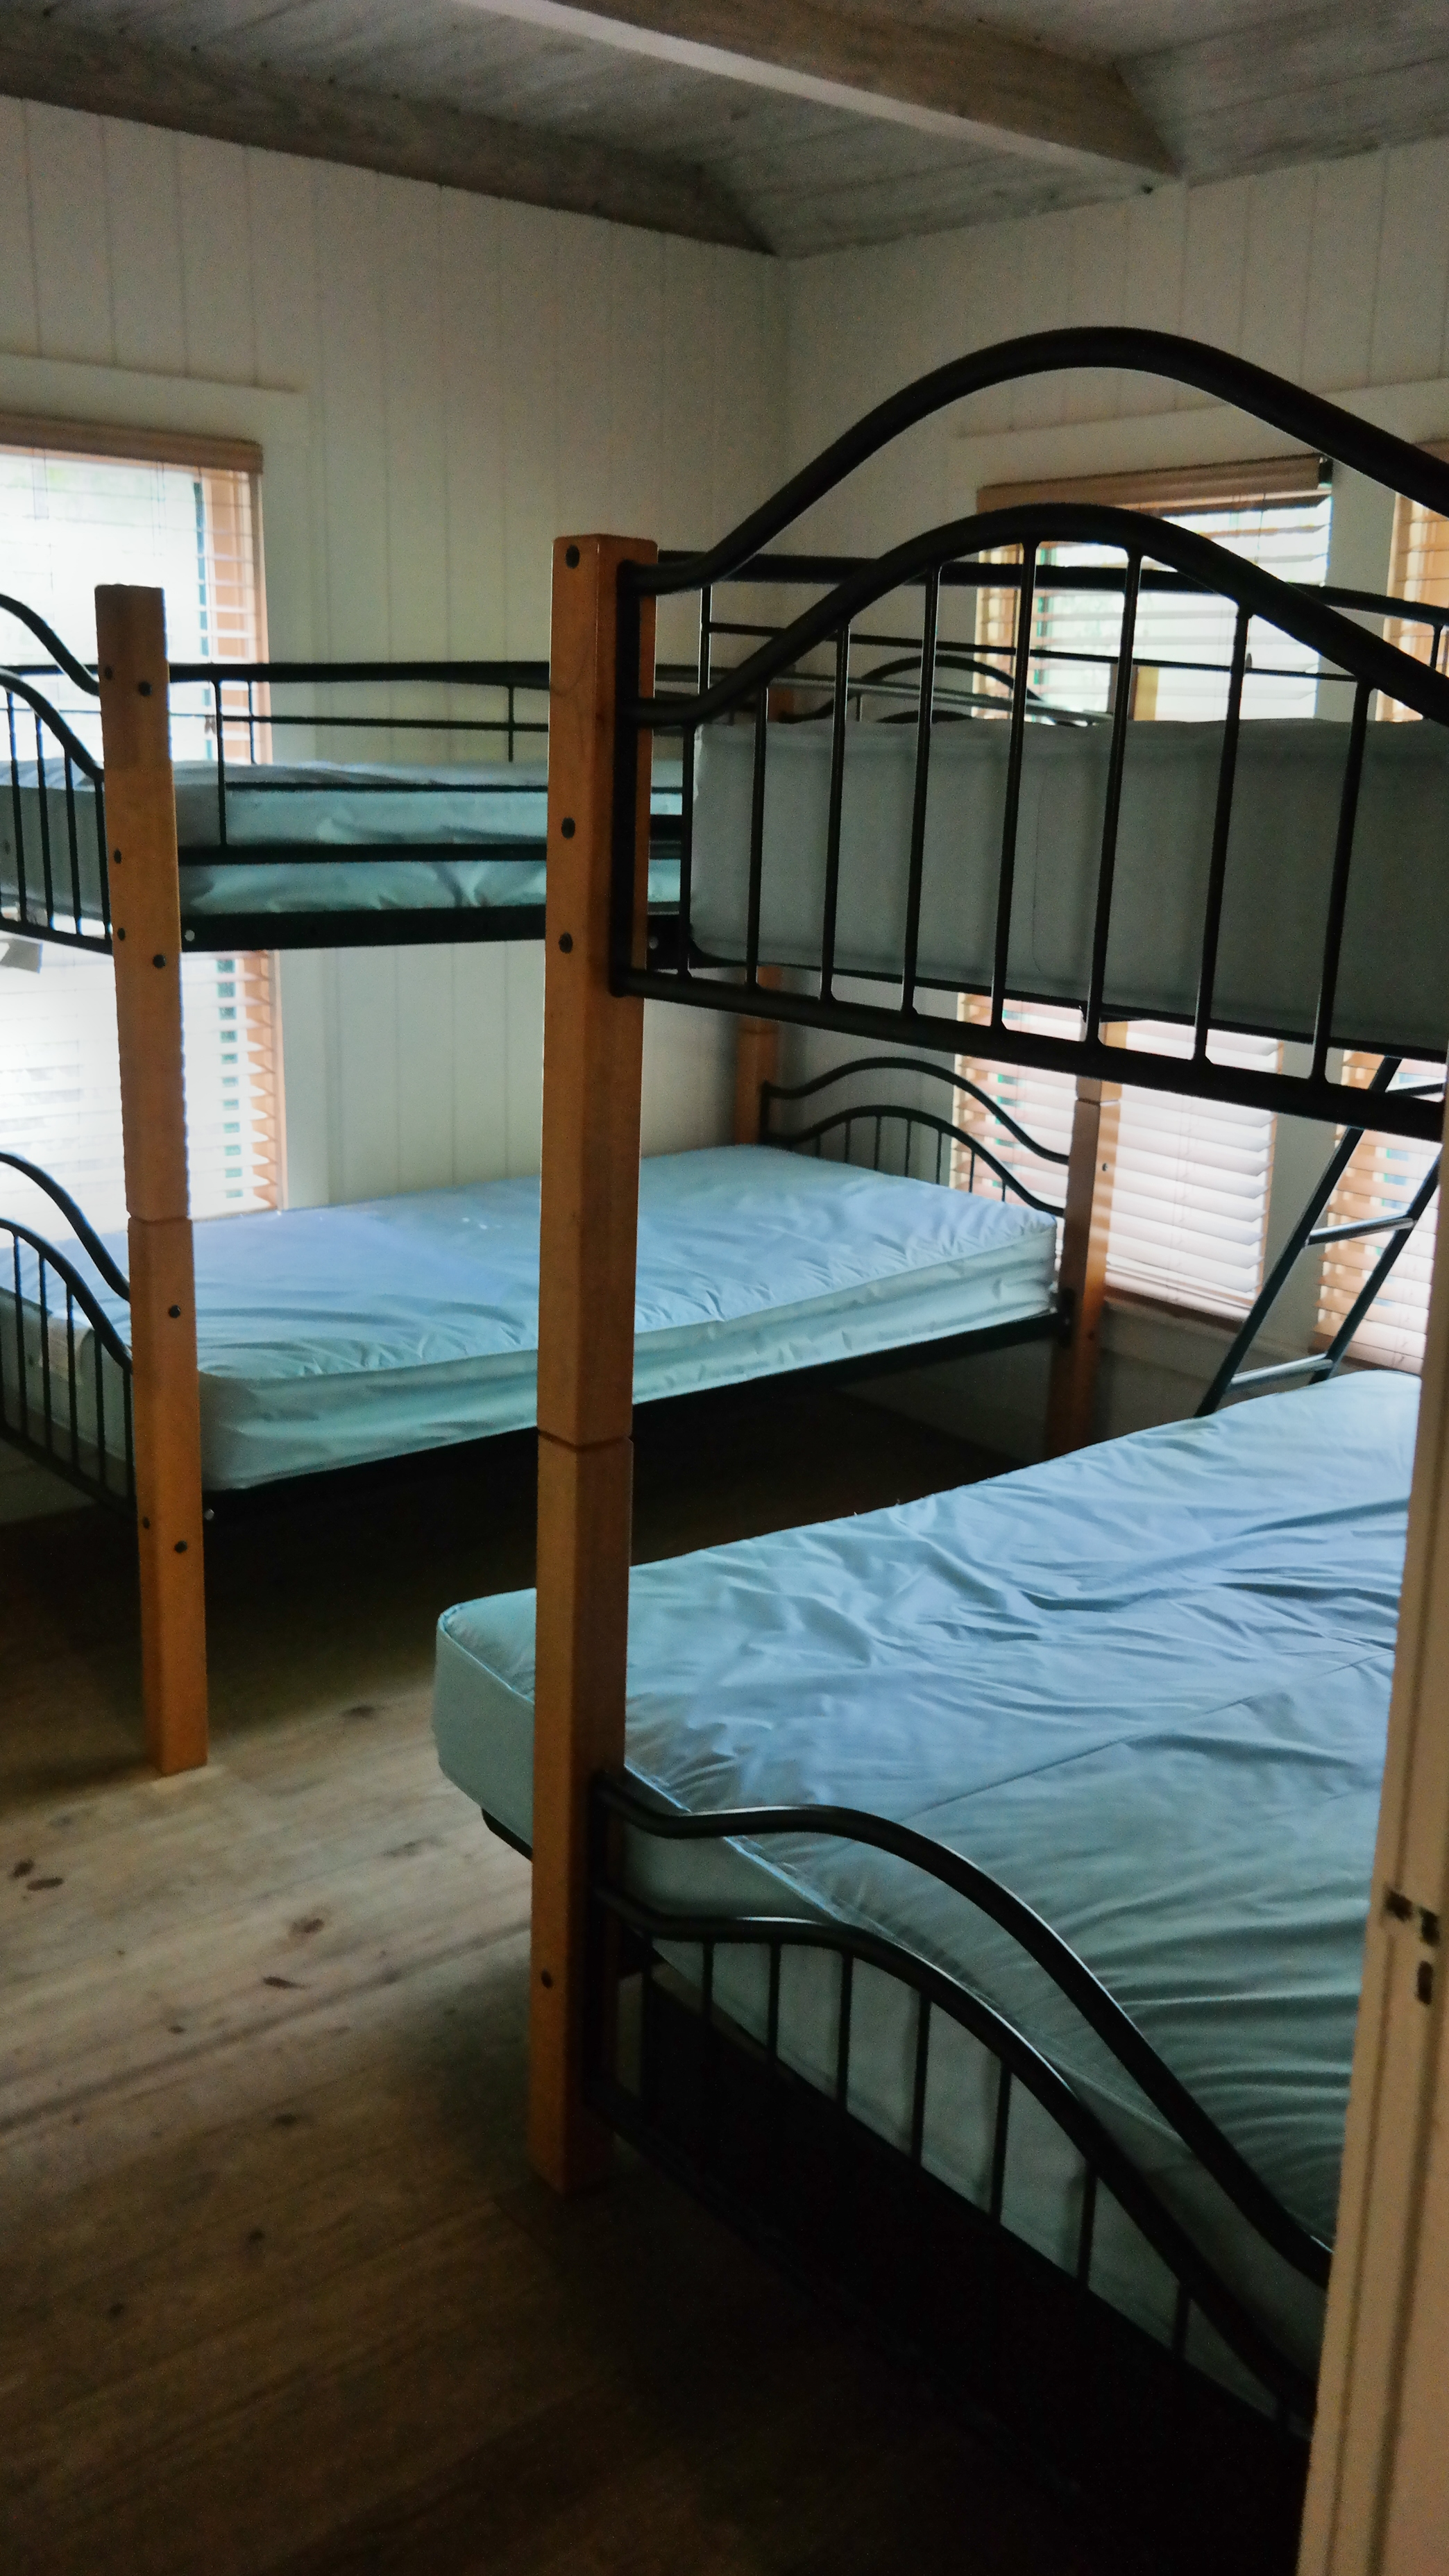
- 347 campsites, 37 screened shelters, 17 cabins, and one group campsite.
- The park hosts nightly dances over the Summer and has been doing so since the 1940s.
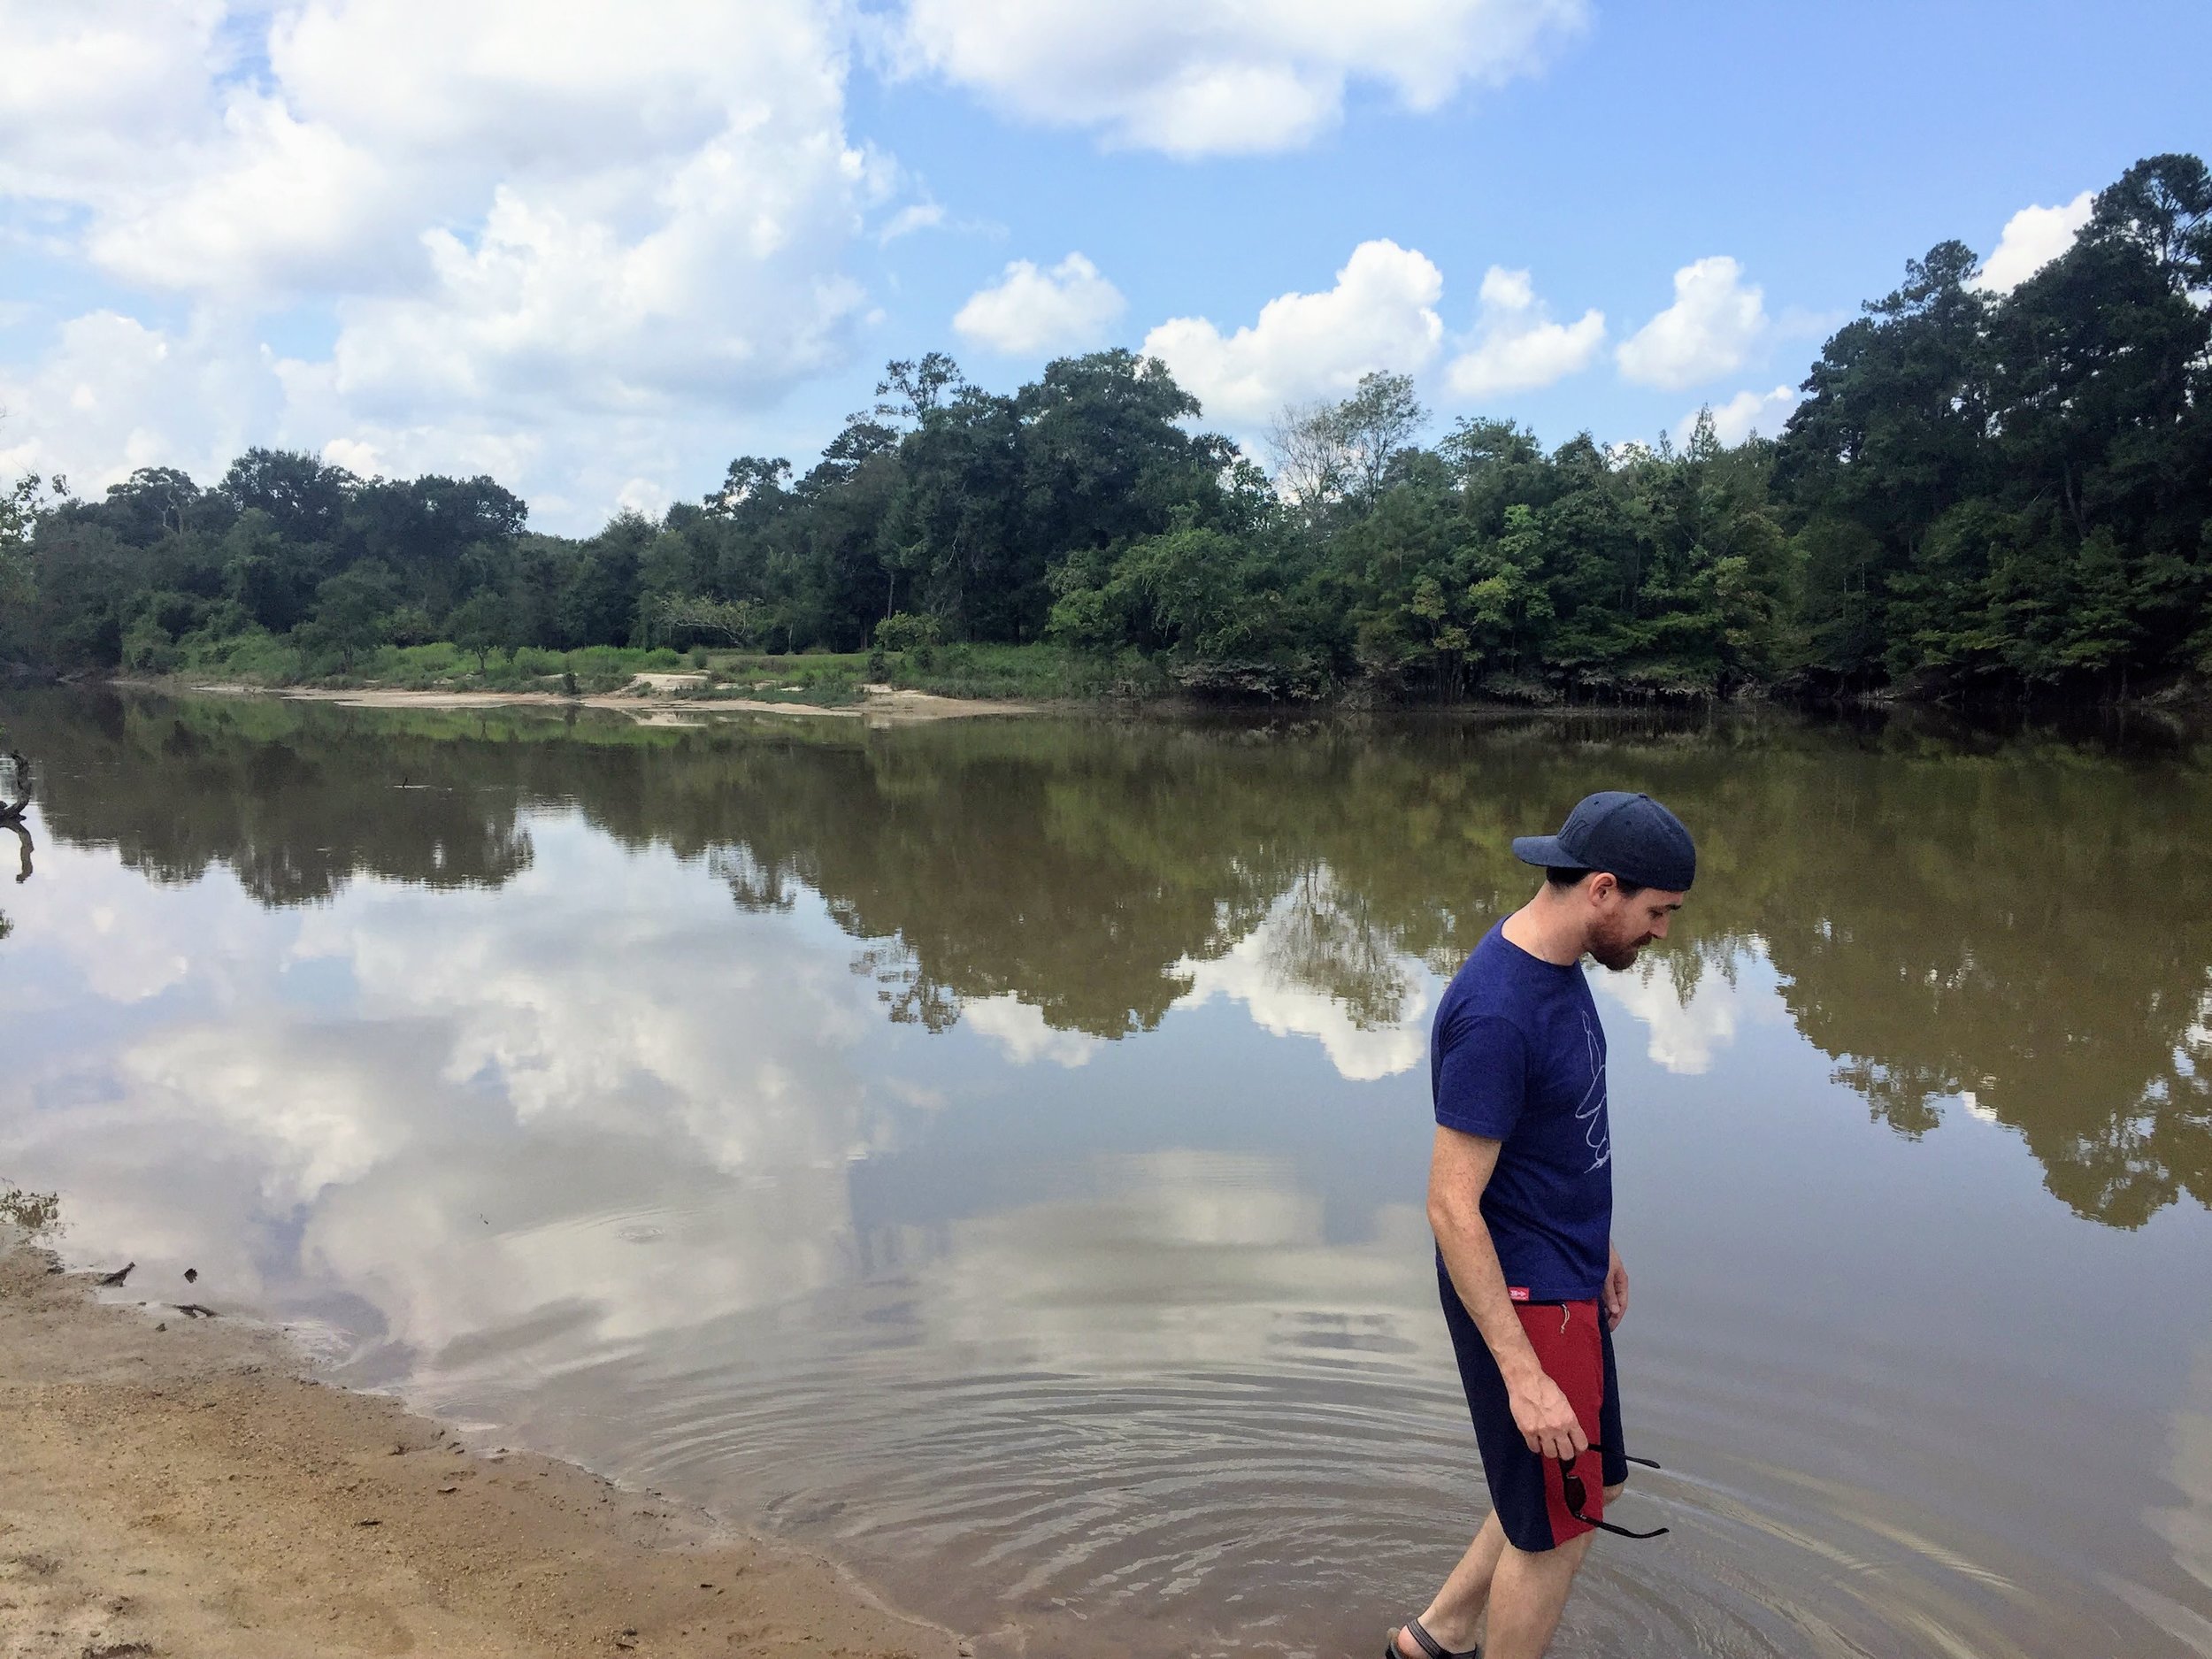
- 3 miles of the Frio River winds through the park. You can rent paddle boats, kayaks, and inner tubes to enjoy the water.
- Expect to wait a while (2.5 hours in our case) if you arrive on a Friday afternoon during busy season. I recommend arriving on an off day (e.g. Thursday instead of Friday) and/or getting to the check-in office as soon as check-in begins (2pm).
- There are five different camping areas. The Oakmont and Pecan Grove camping areas seemed to be the busiest and most packed in but are also the closest to the concessions, boat rentals, and more popular hiking trails (e.g. Old Baldy).